

how to Replace buttons
Step 1
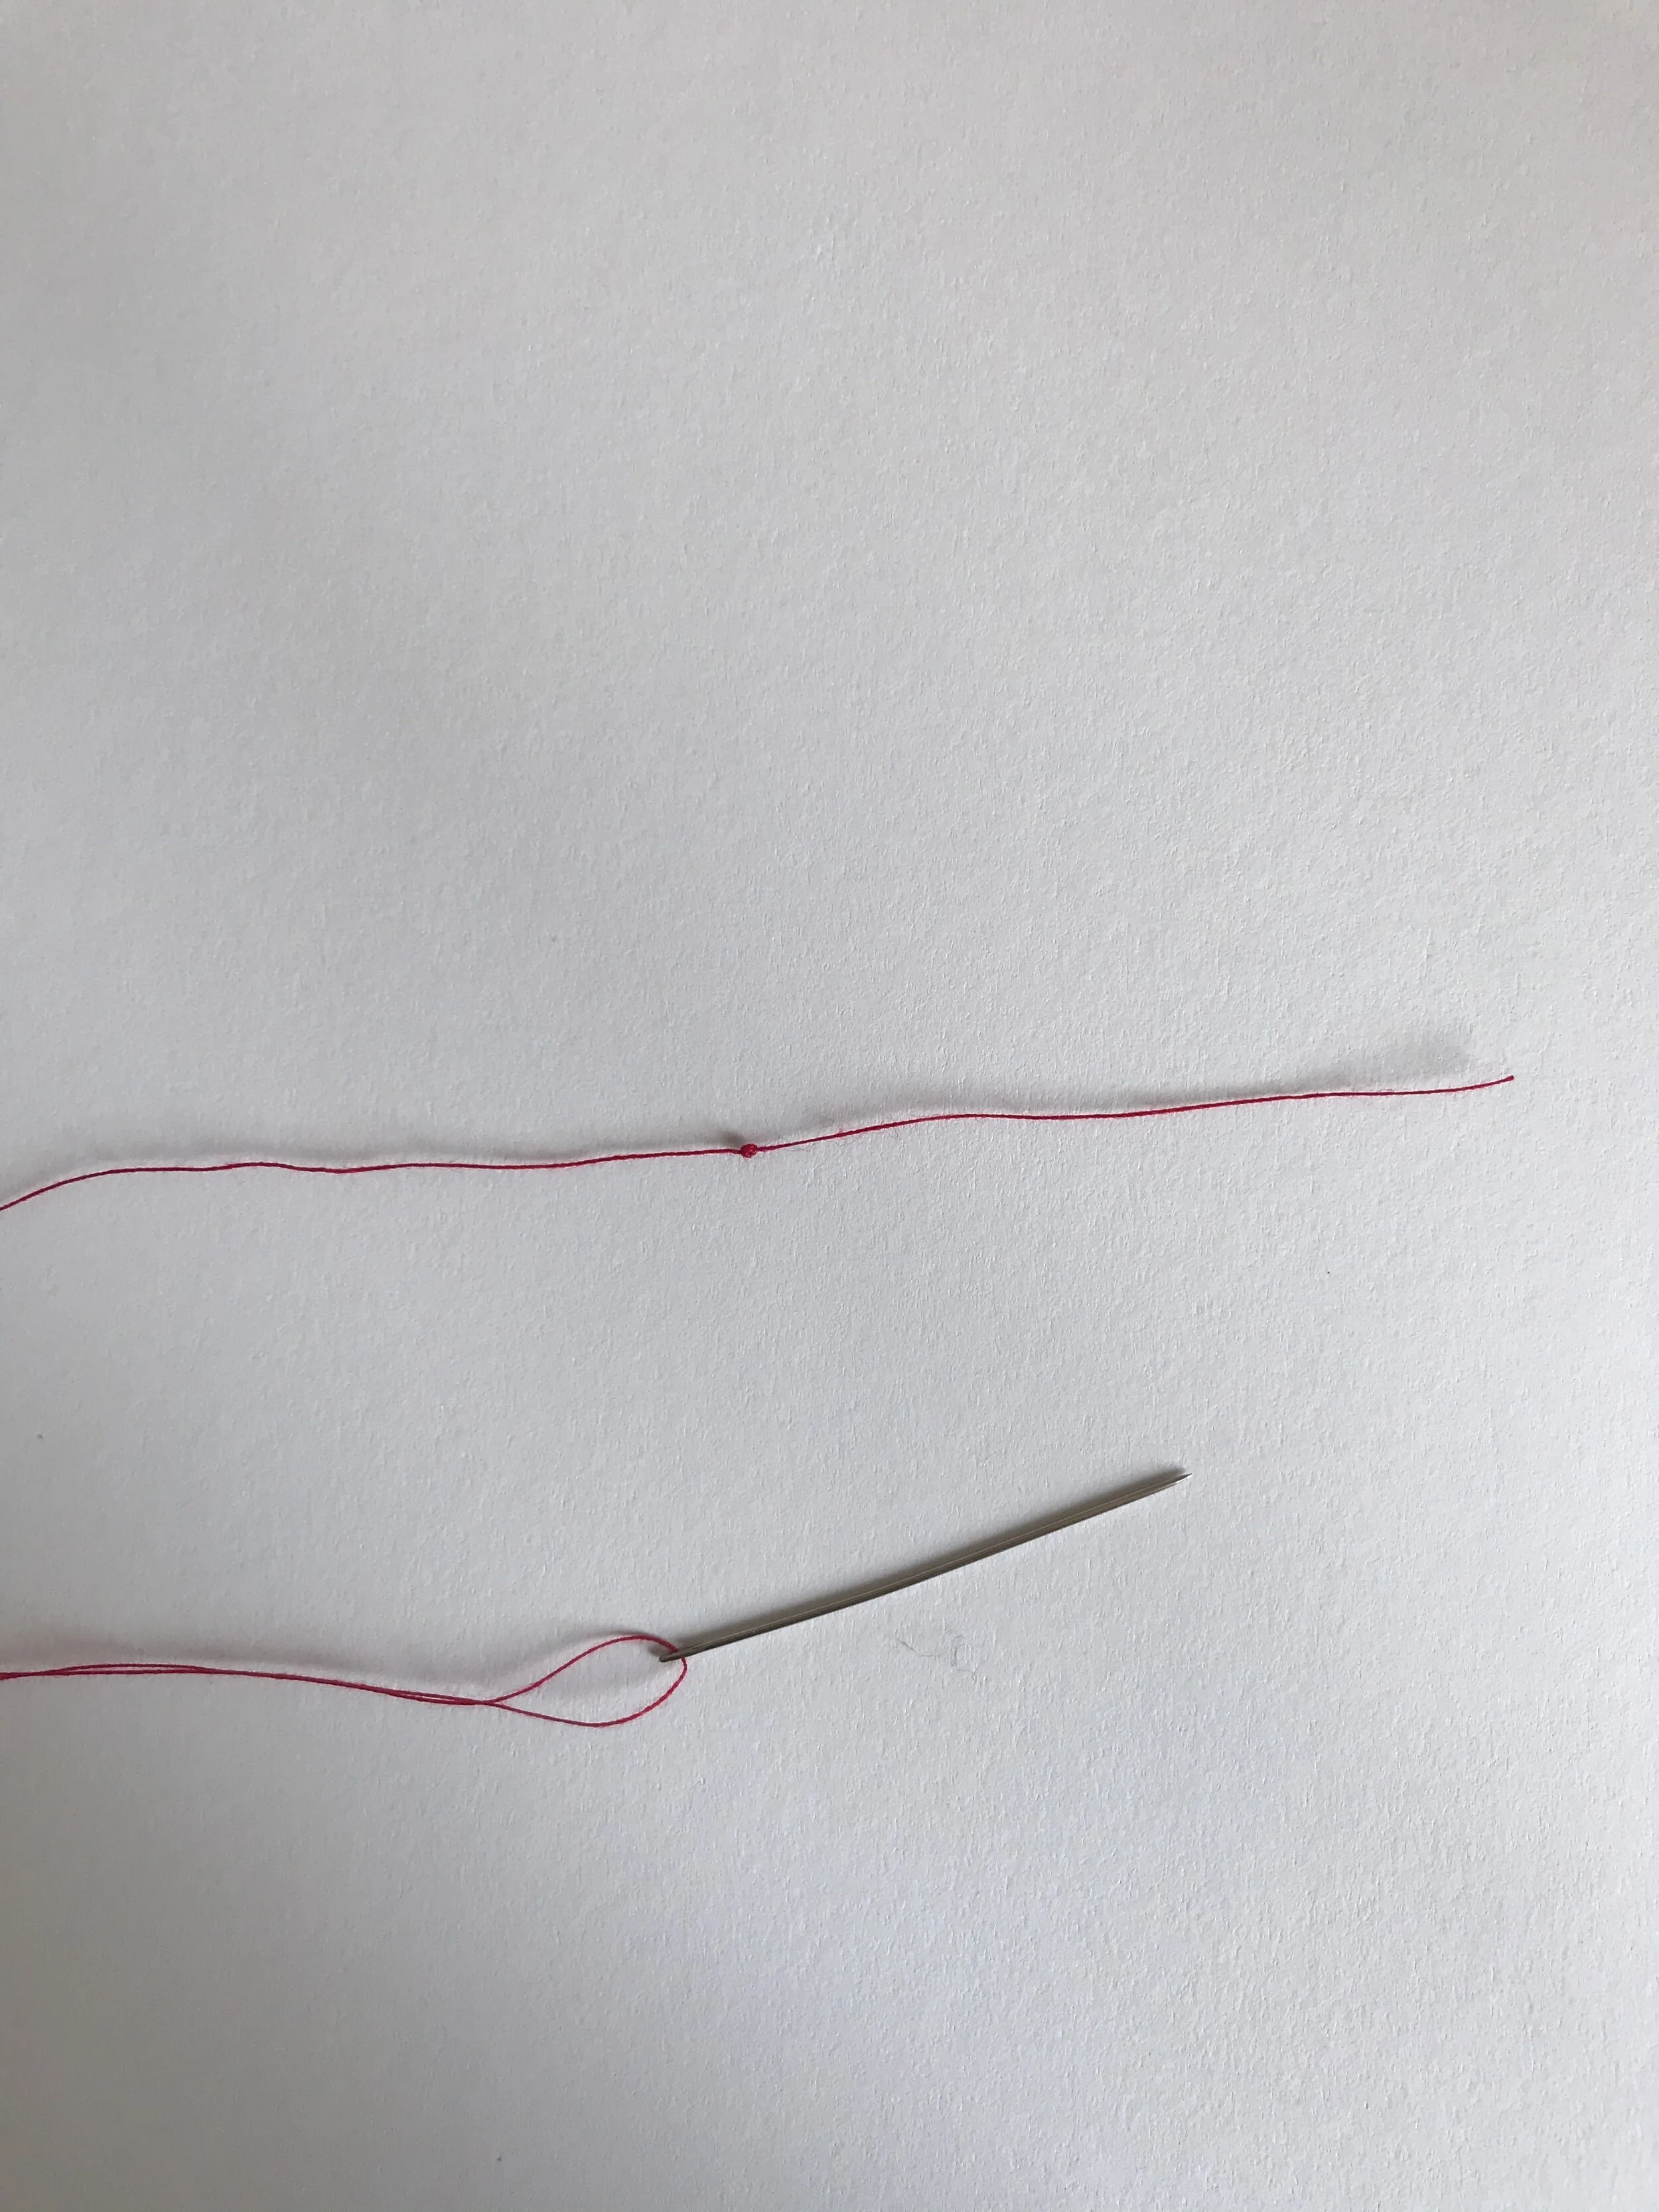
Thread a needle with a colour matching your button and tie a triple knot a few centimetres from the end.
Step 2
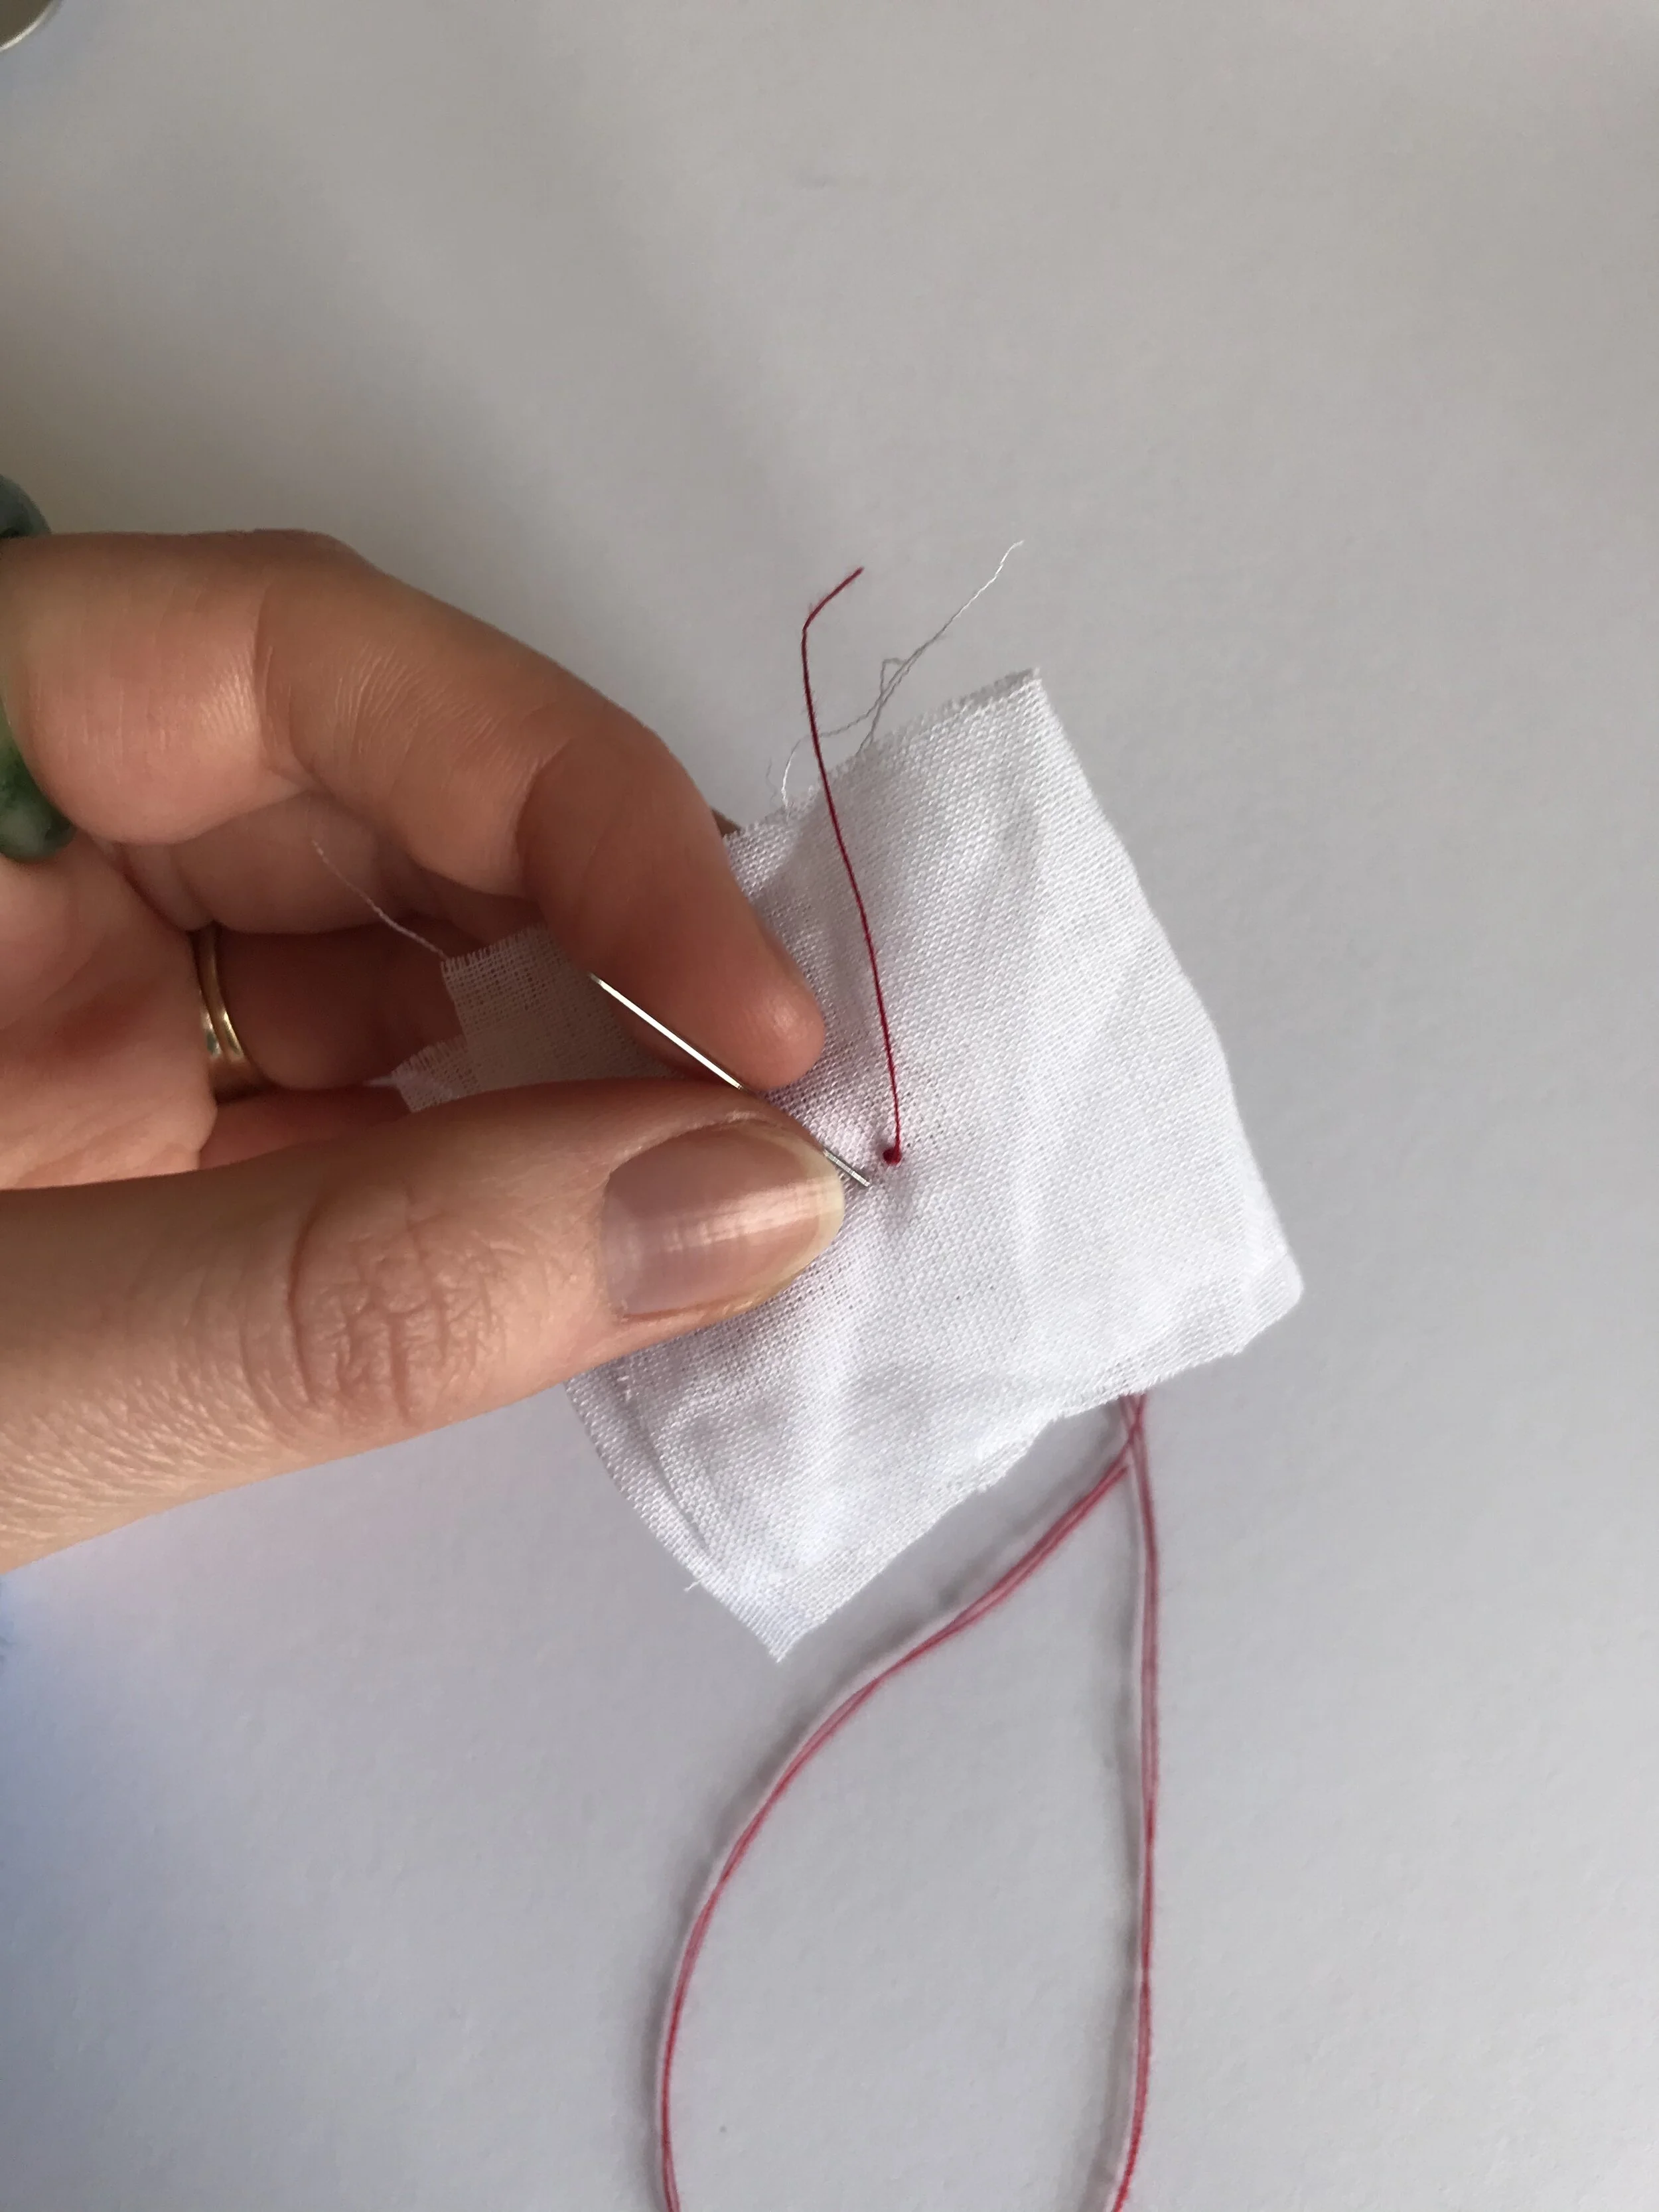
Bring the needle through your fabric right side to wrong side where you want the button to go. Bring it back through to the front near the original hole.
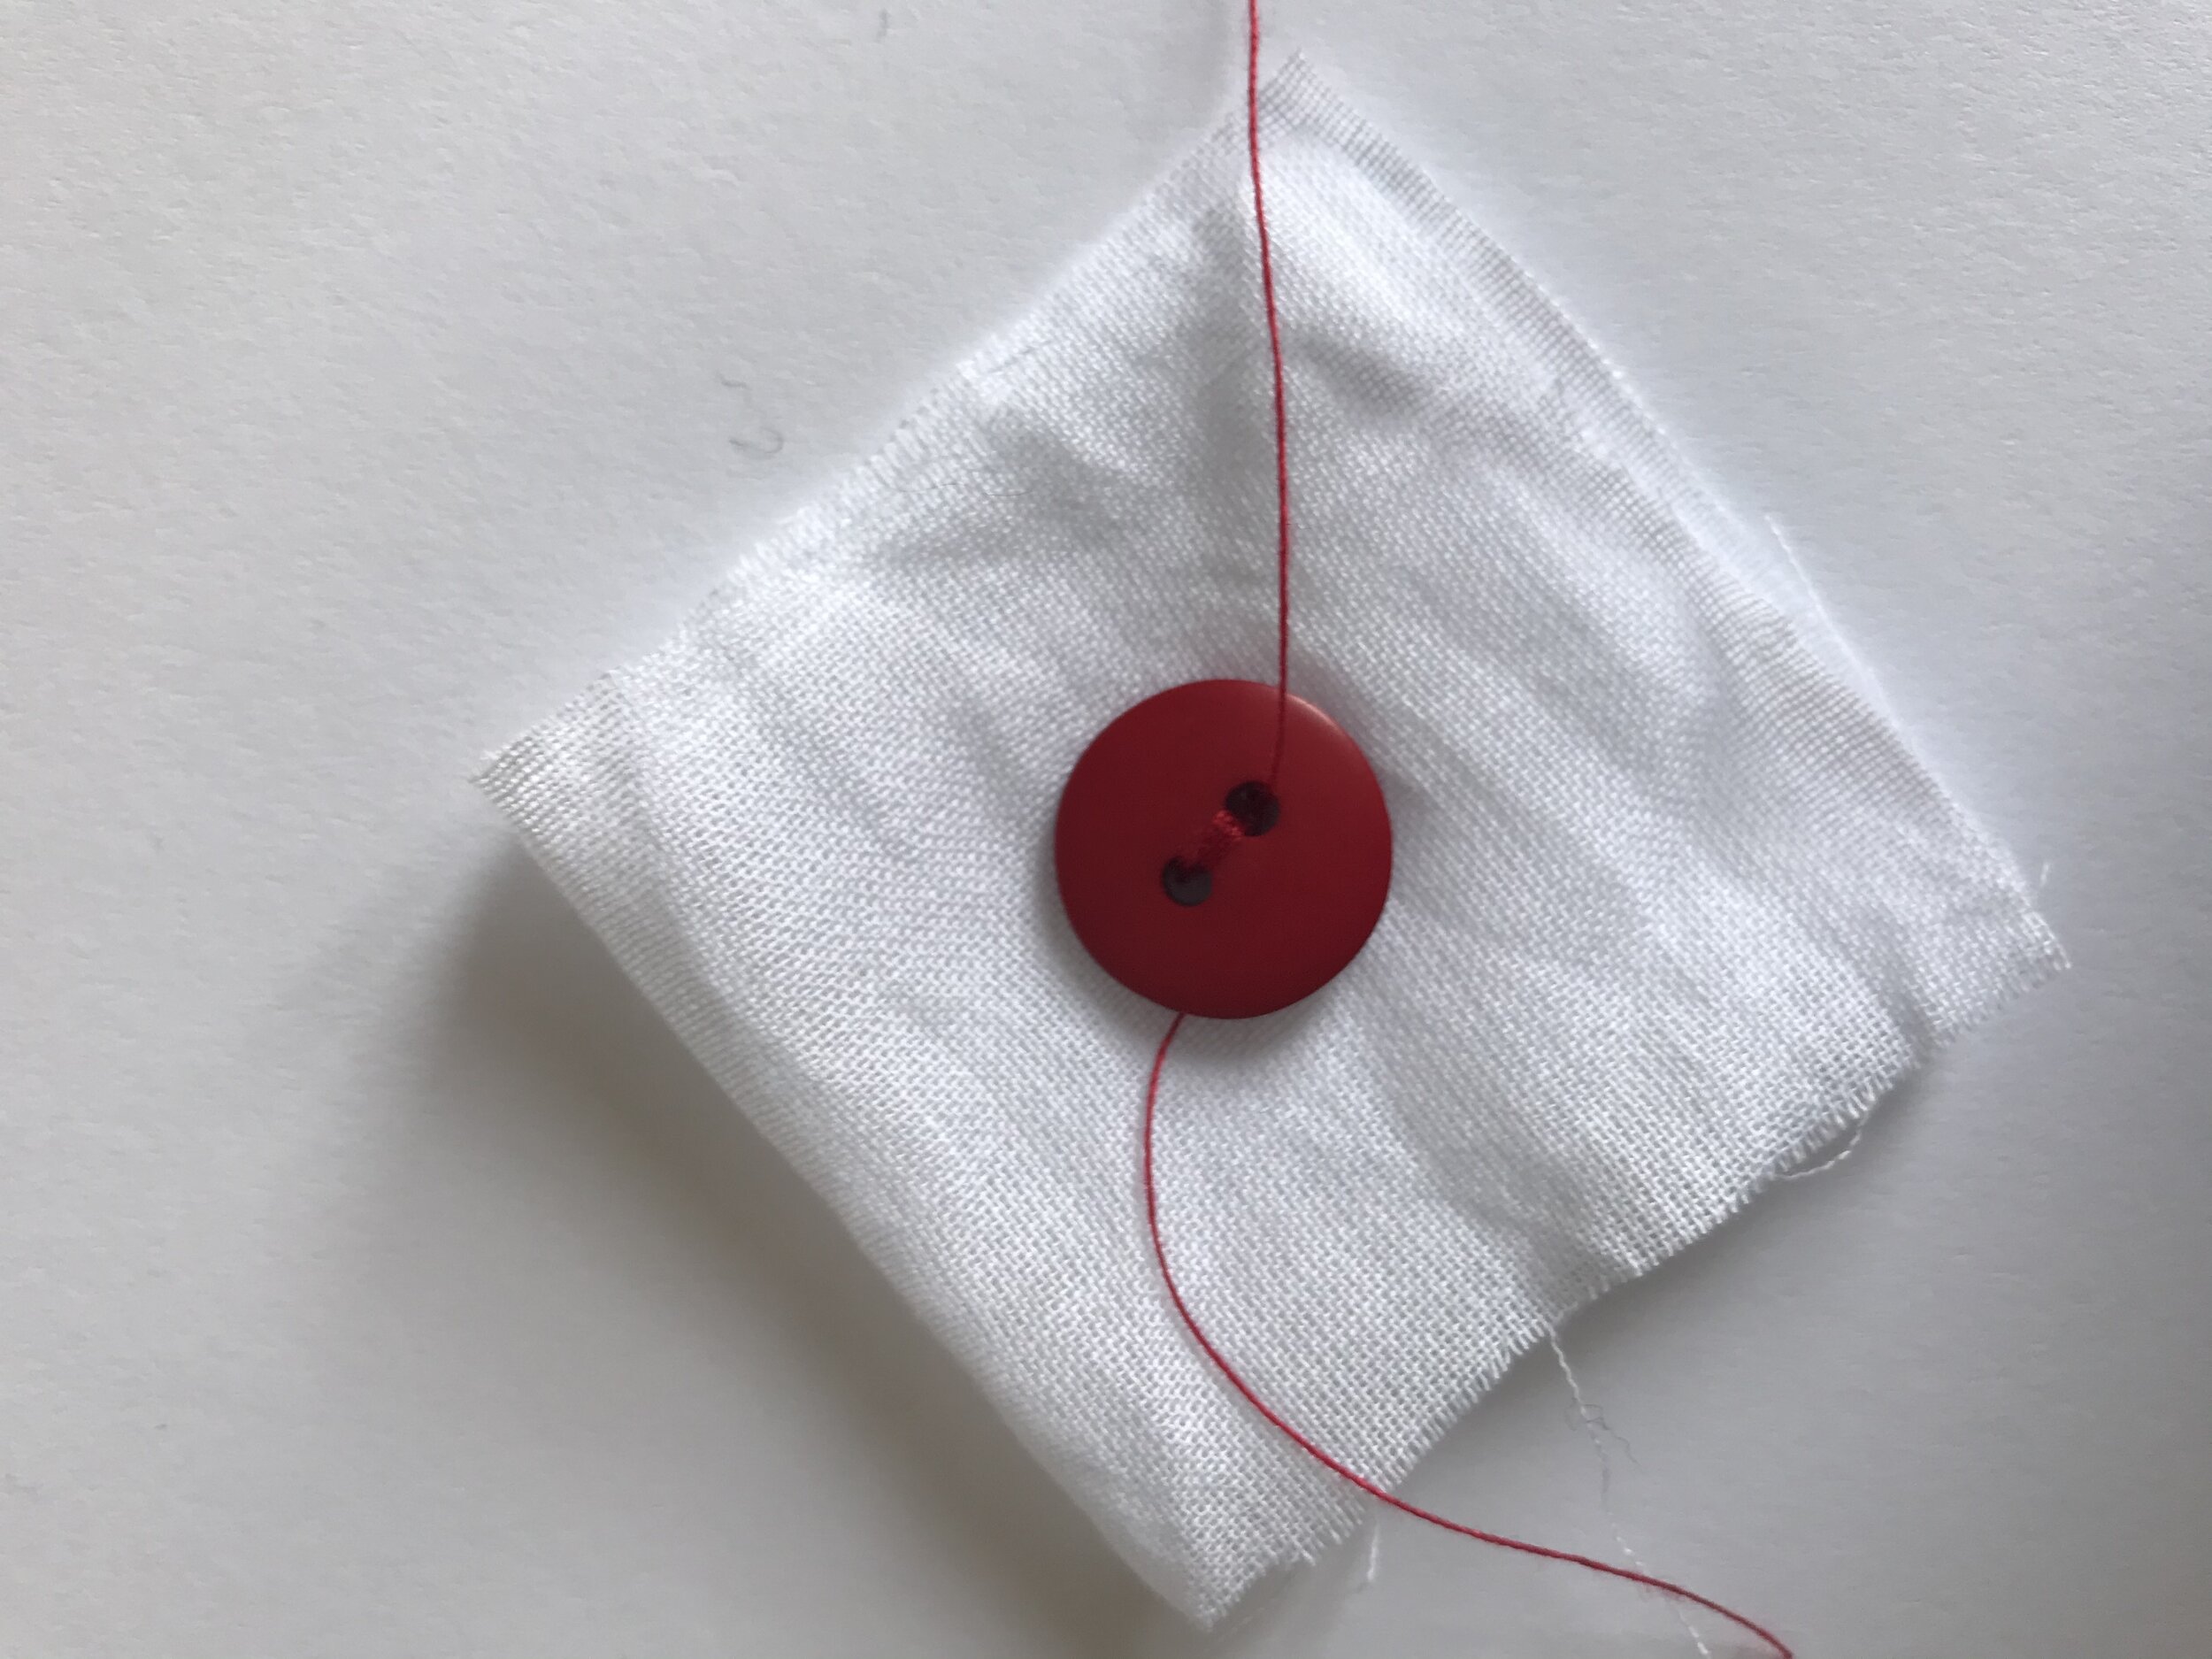
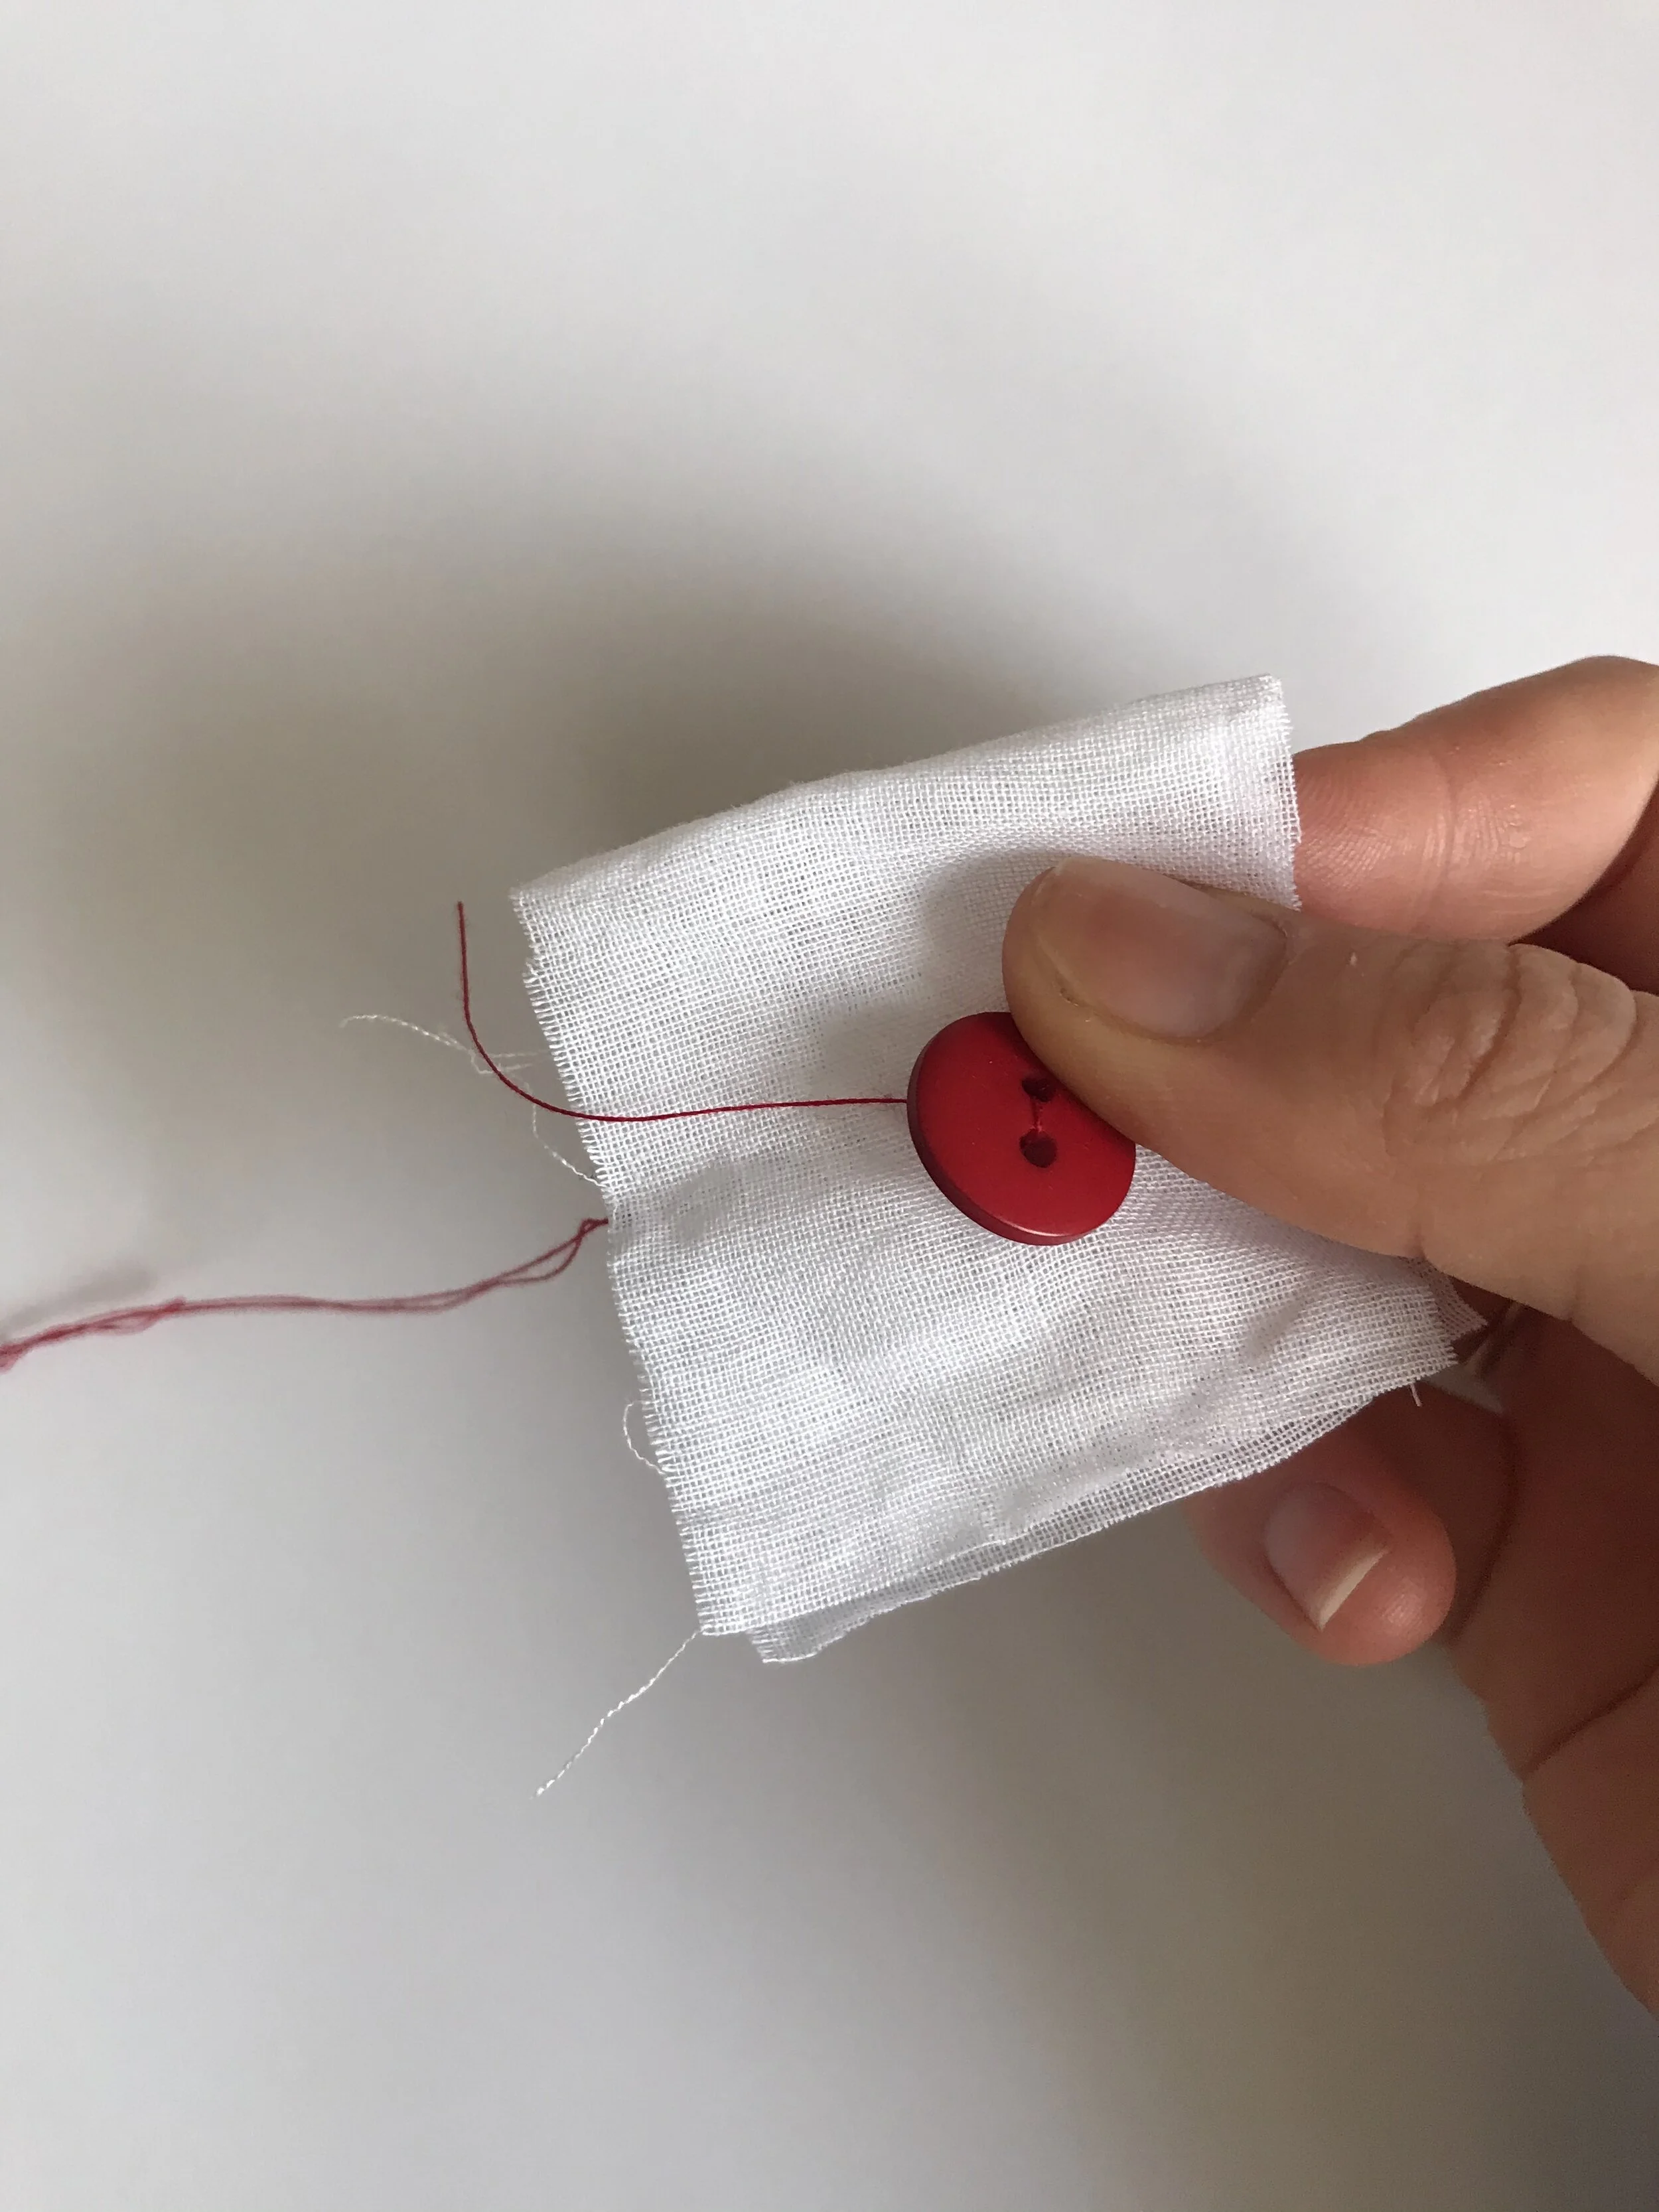
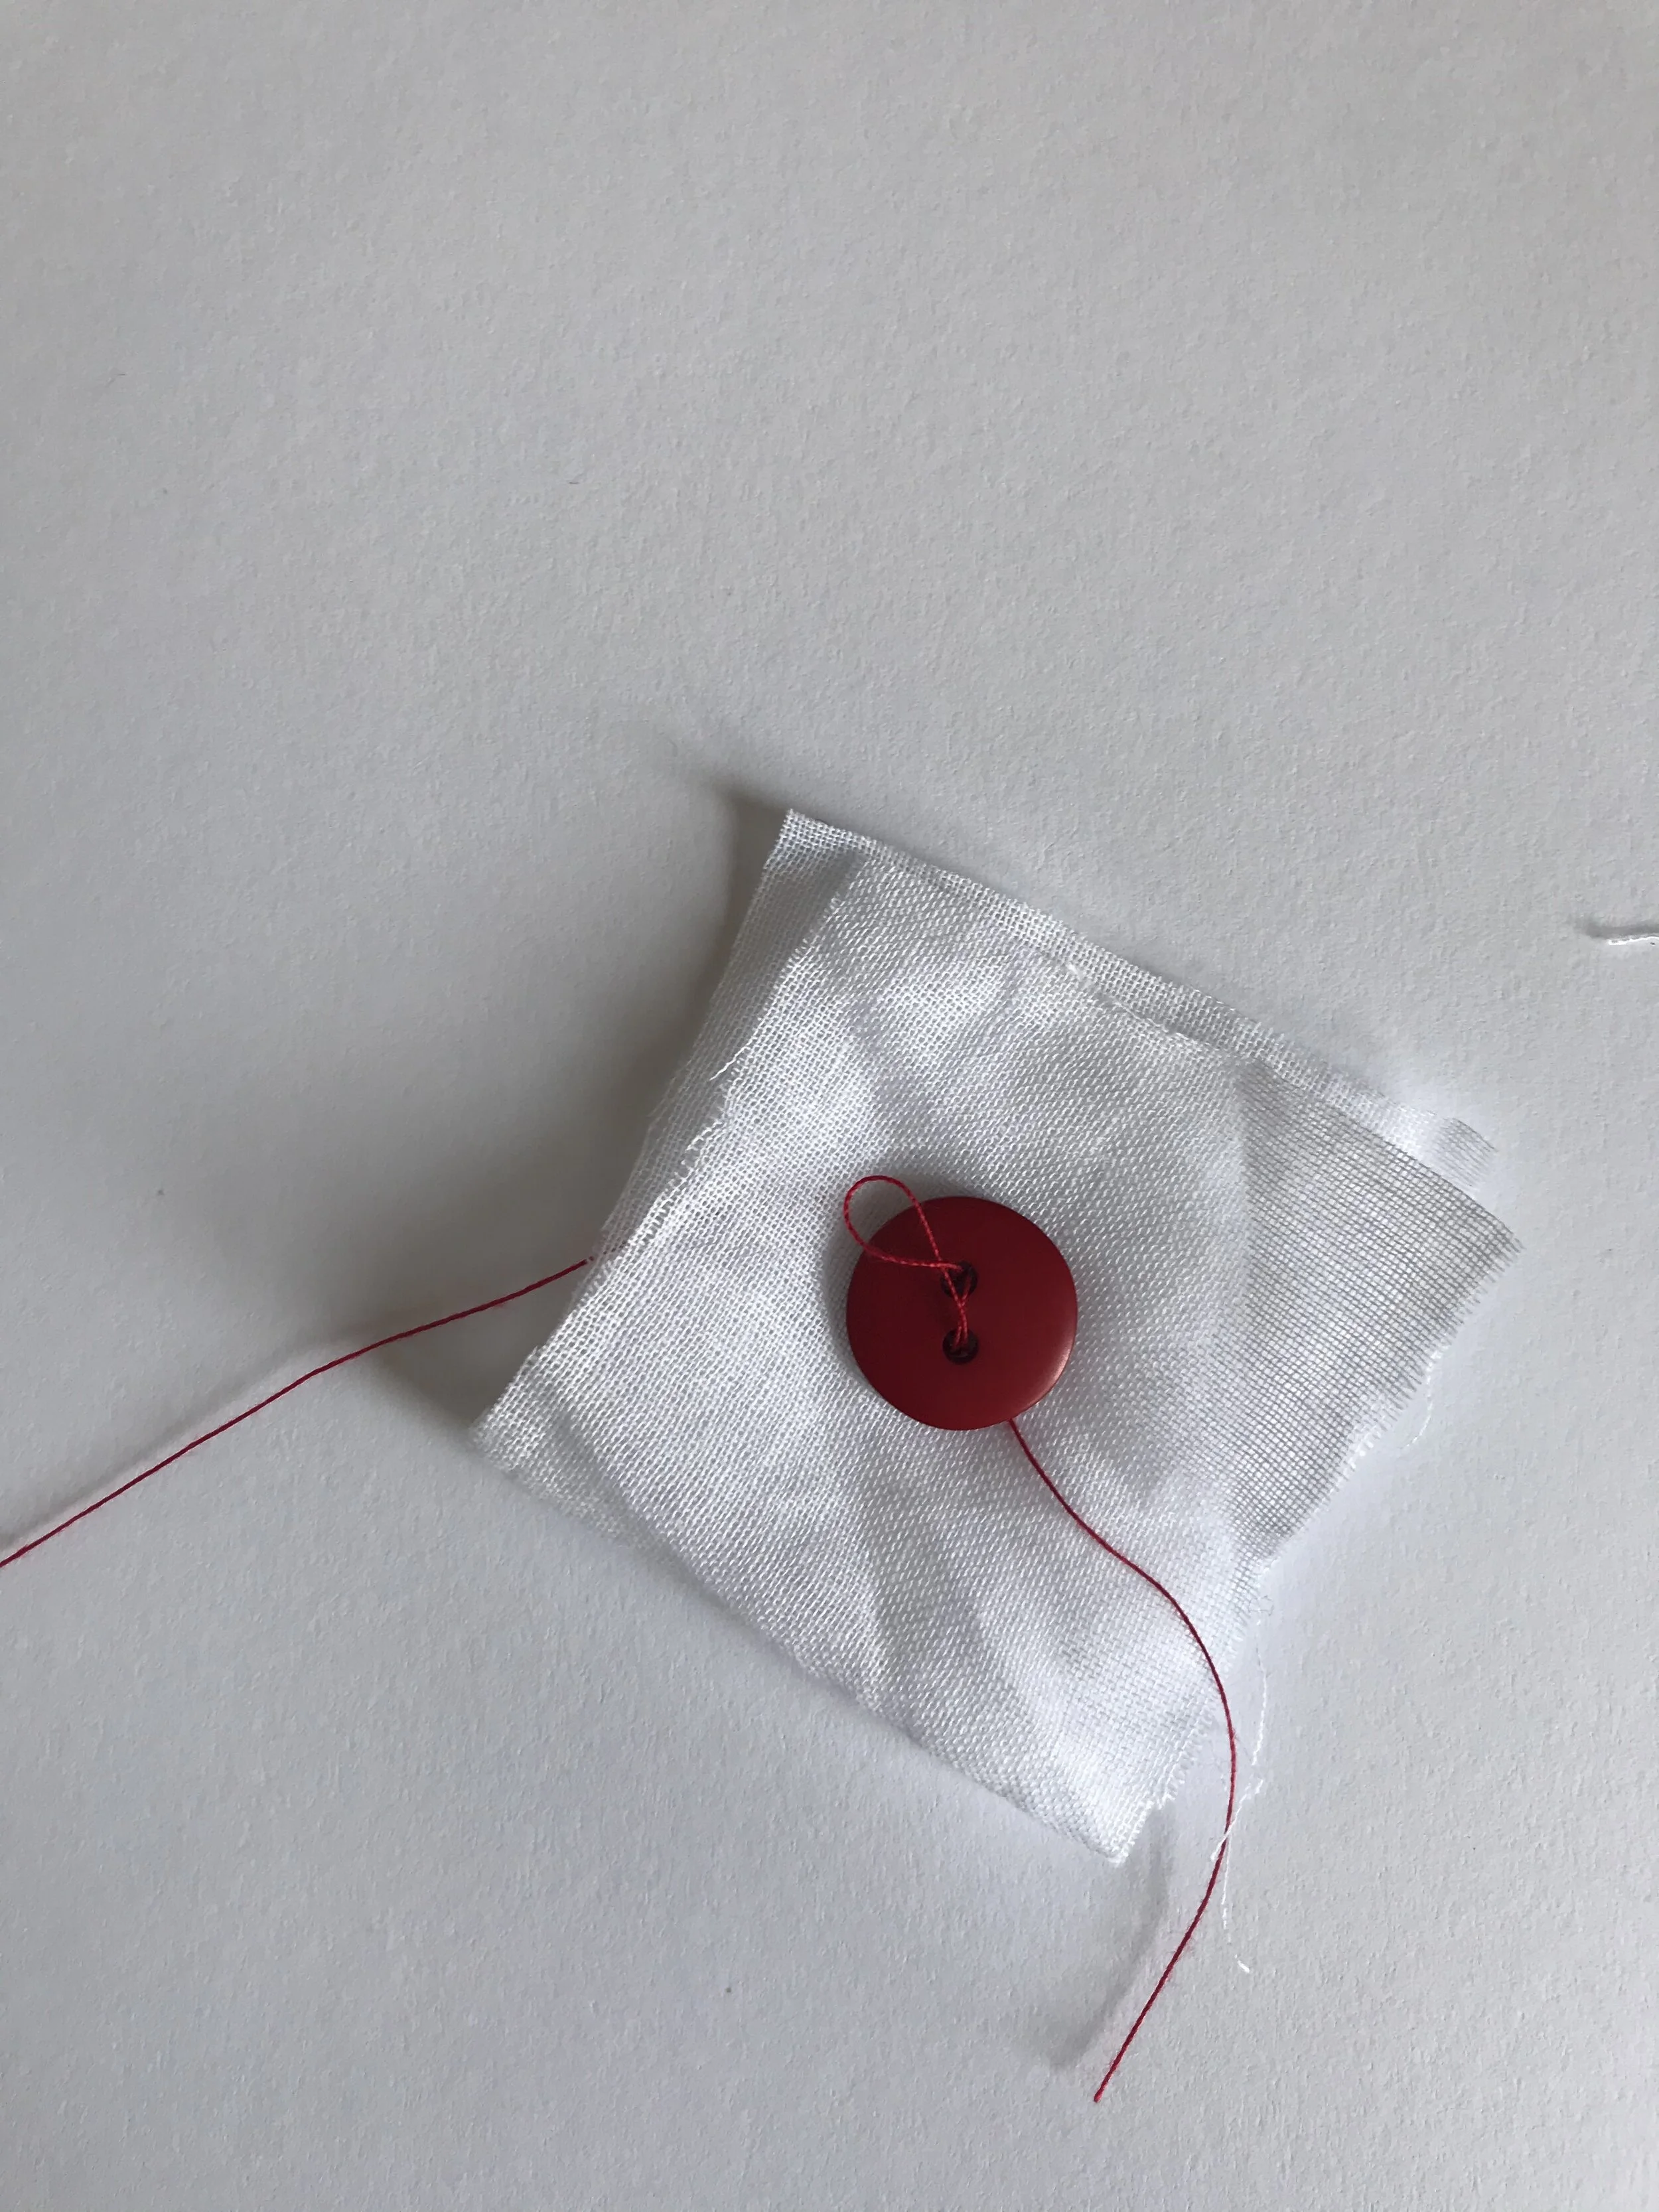
Step 3
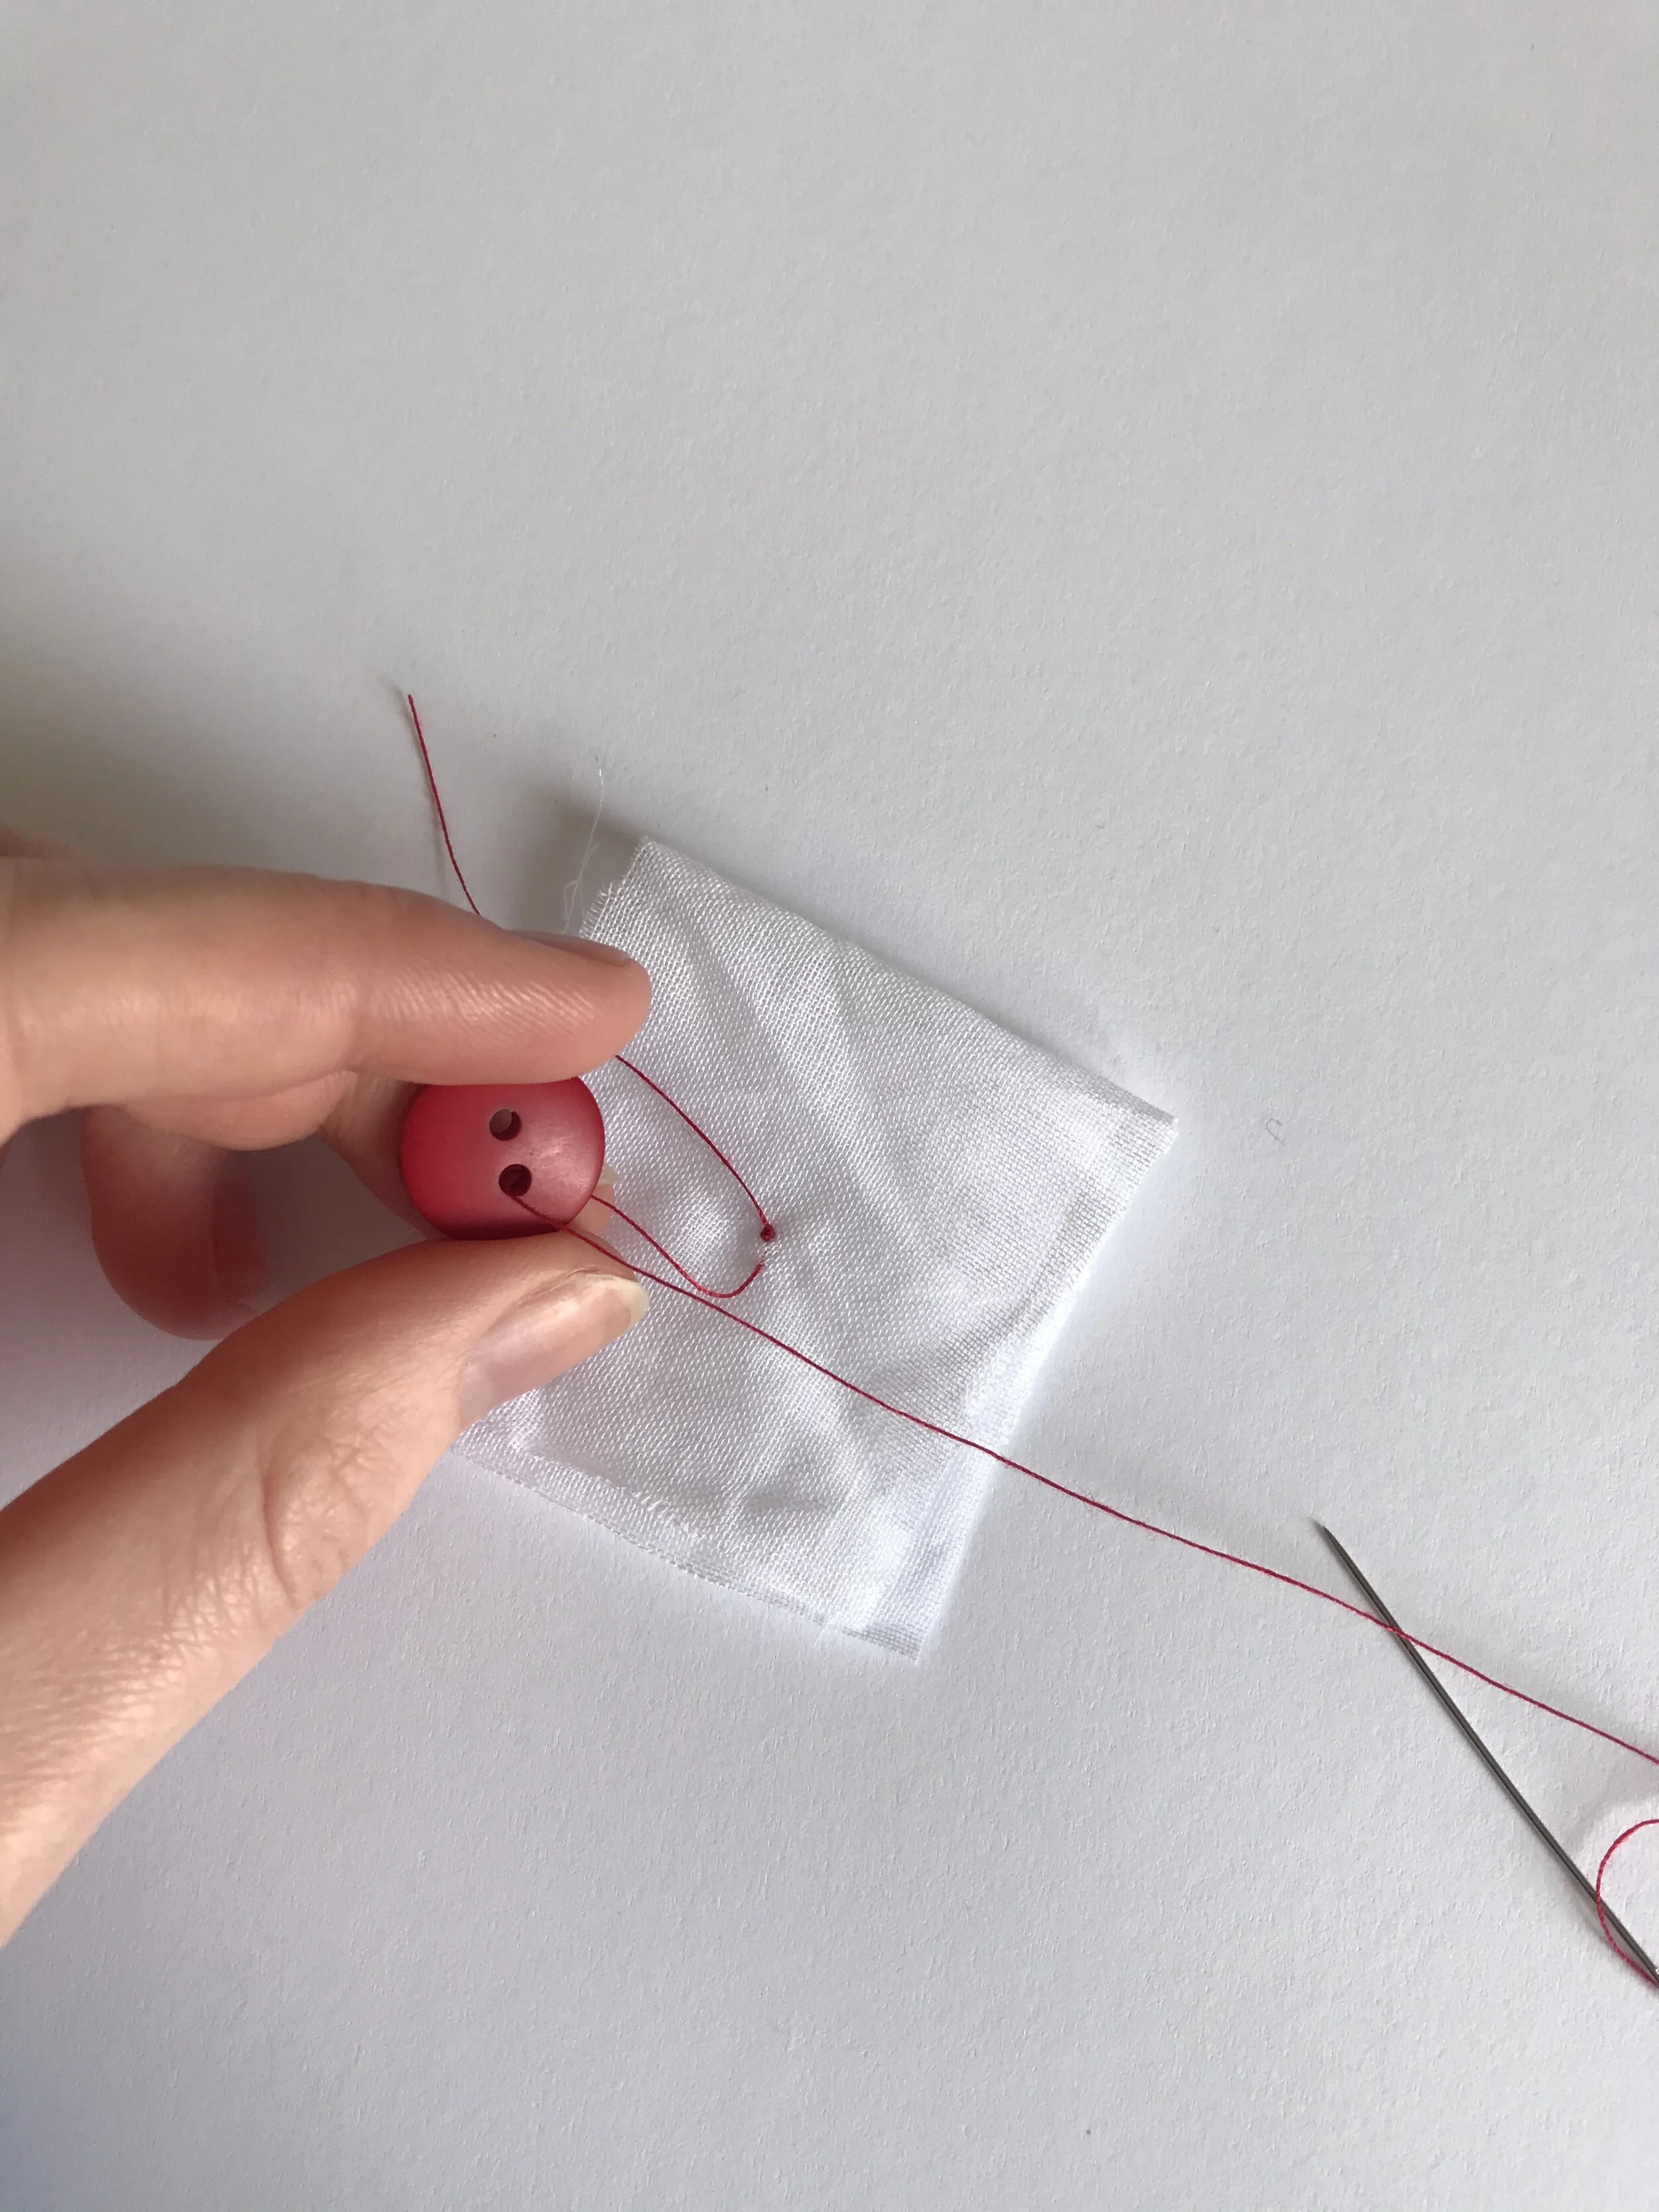
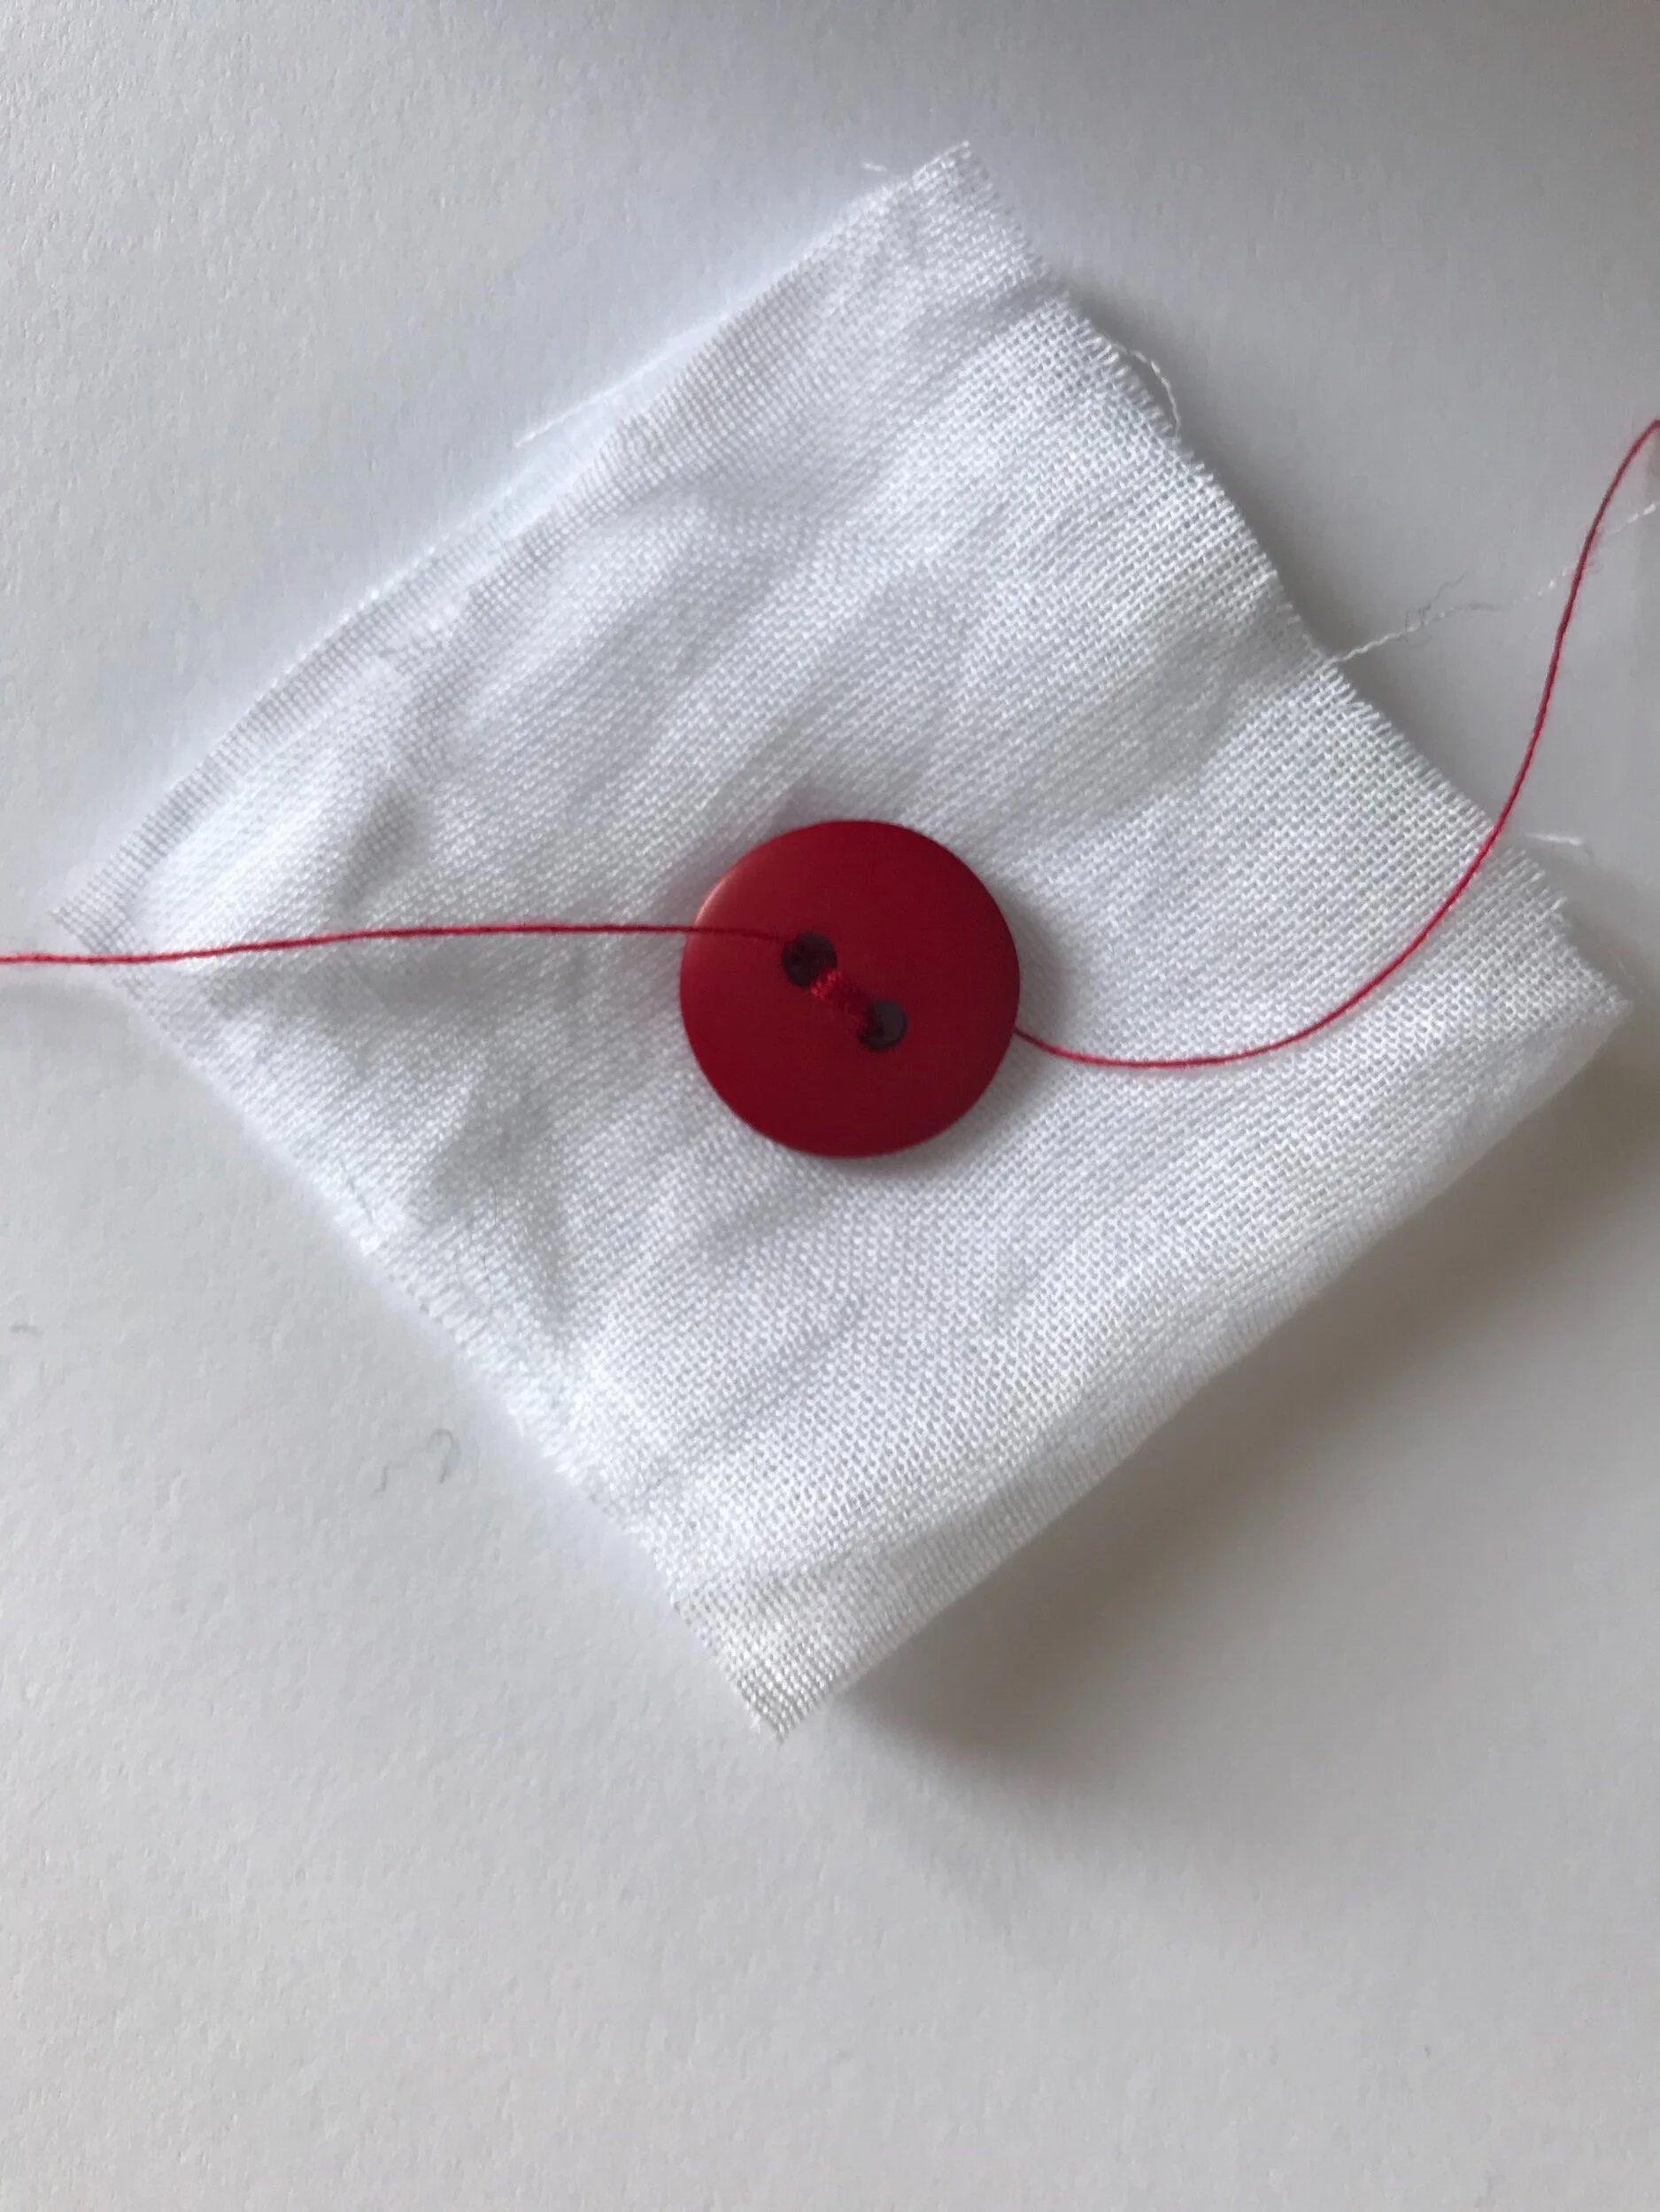
Grab your button and thread through both holes so that it sits flat against the fabric.
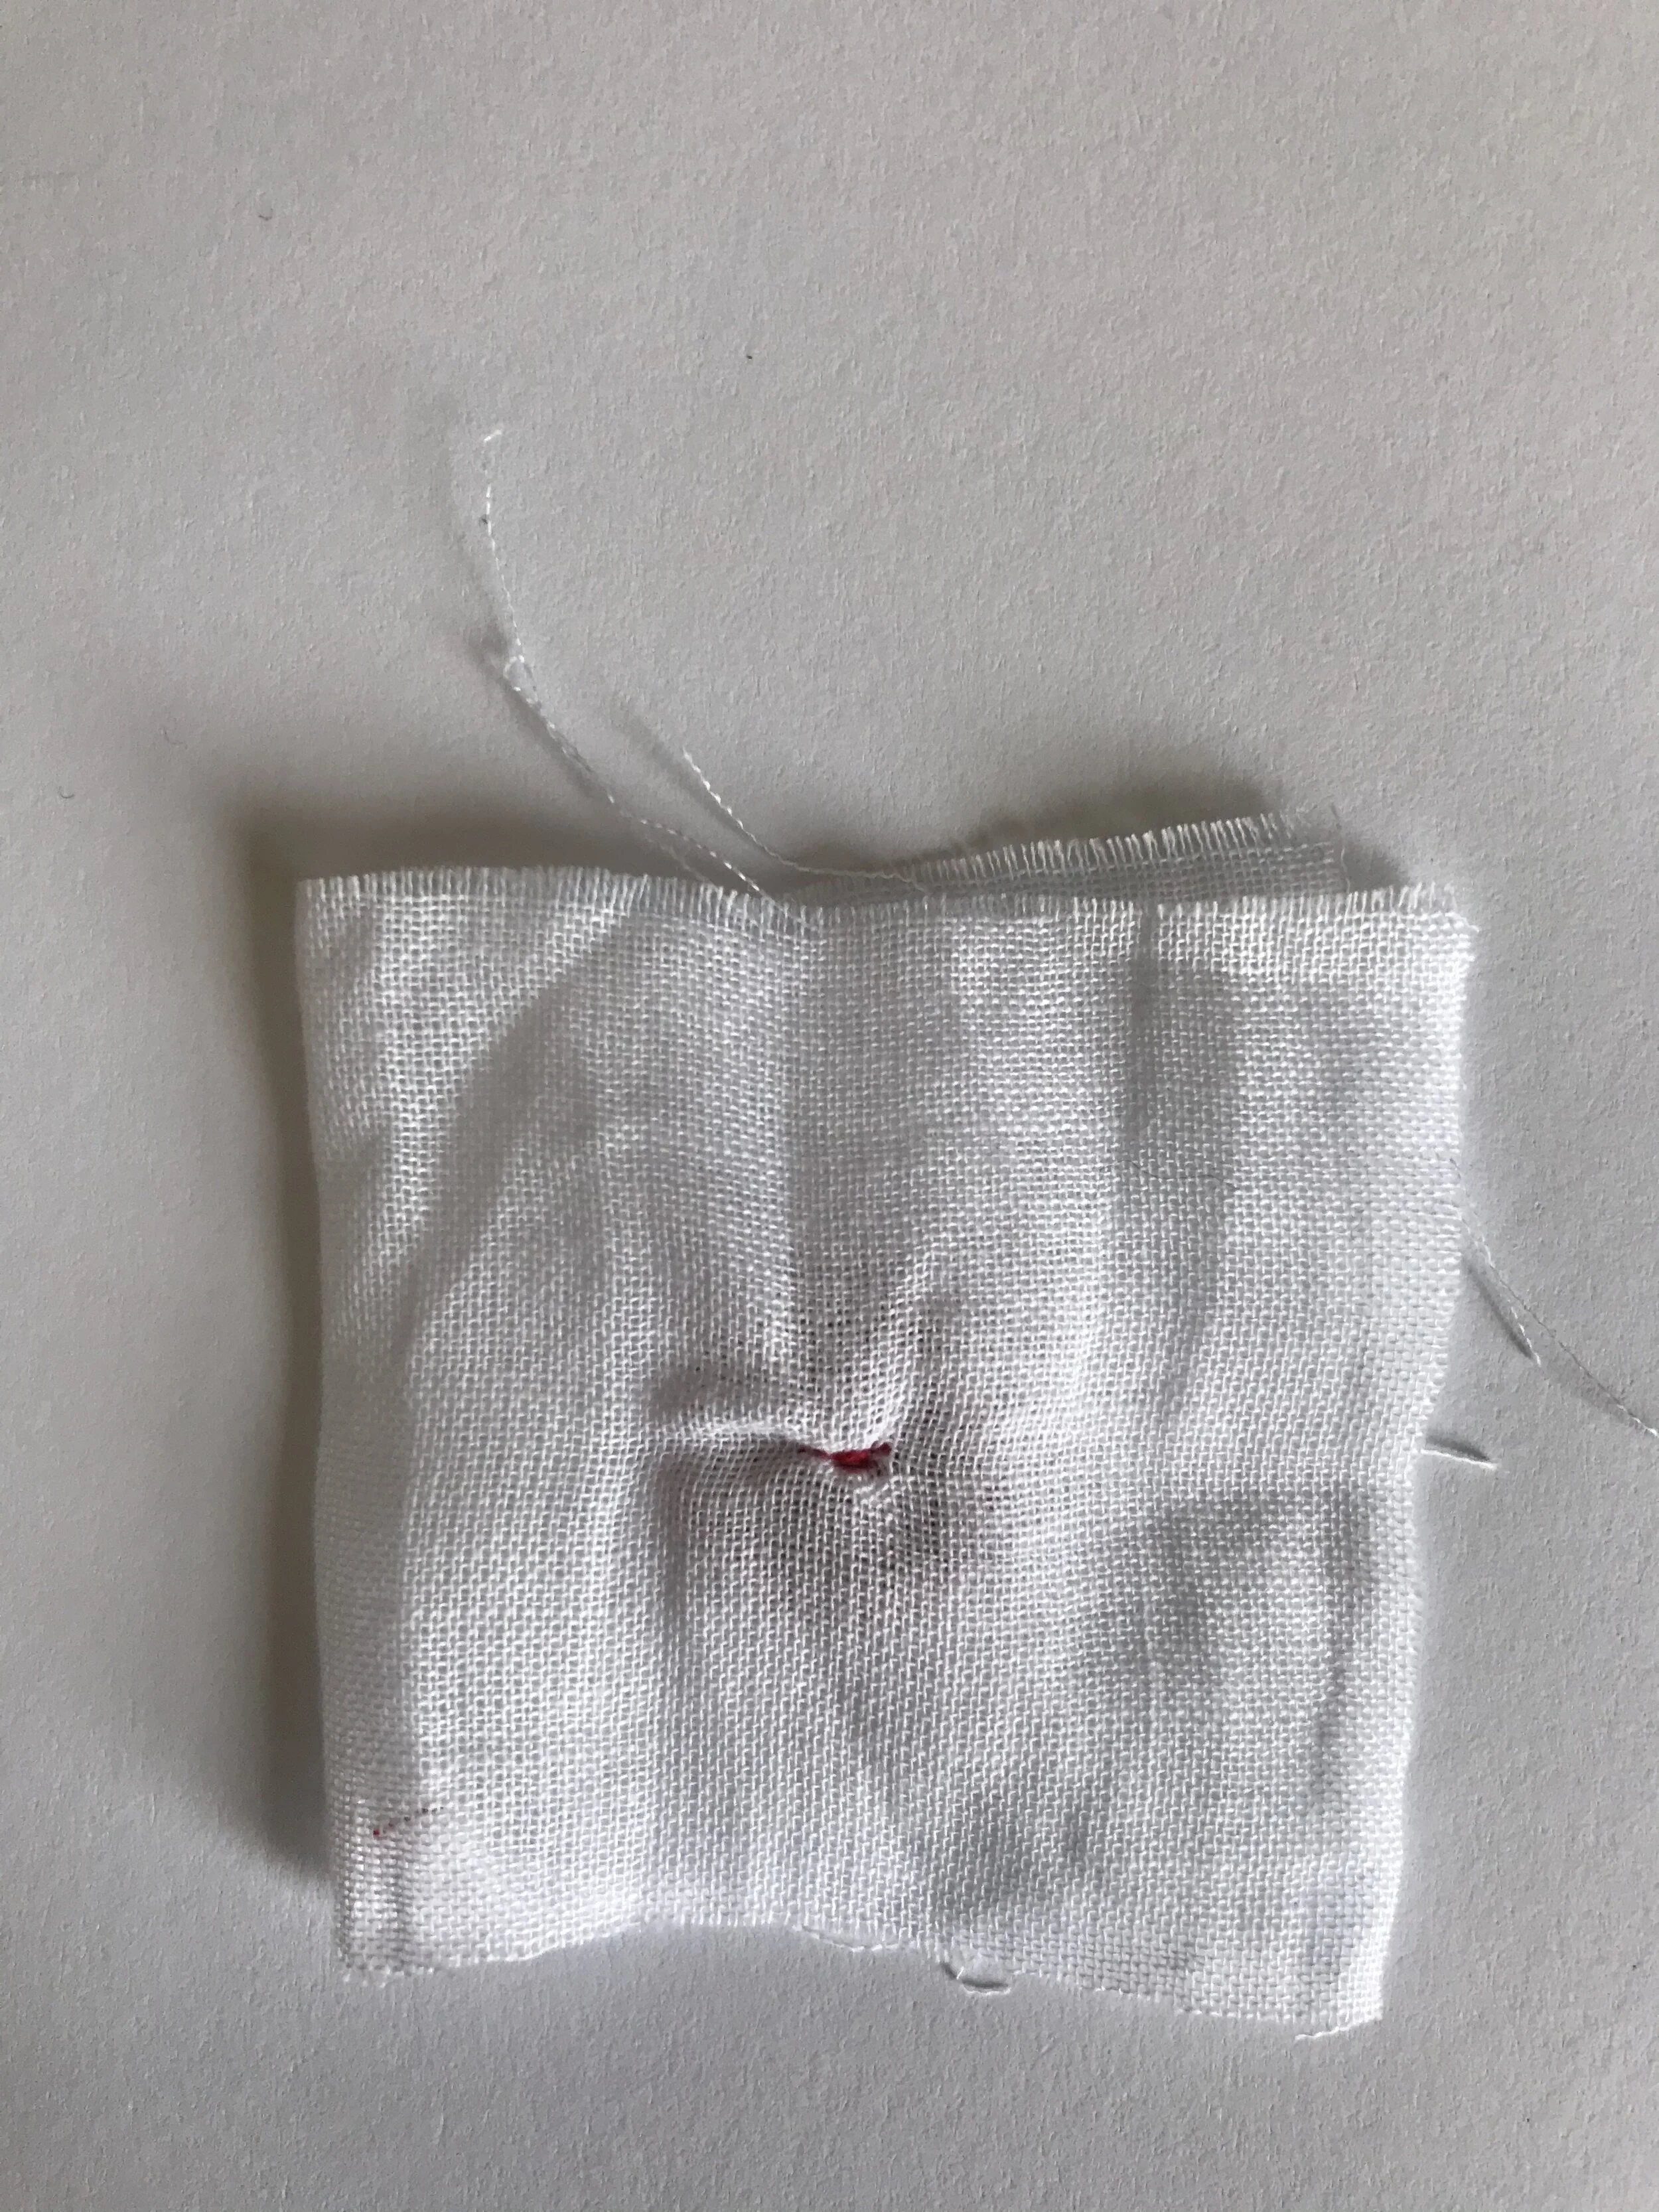
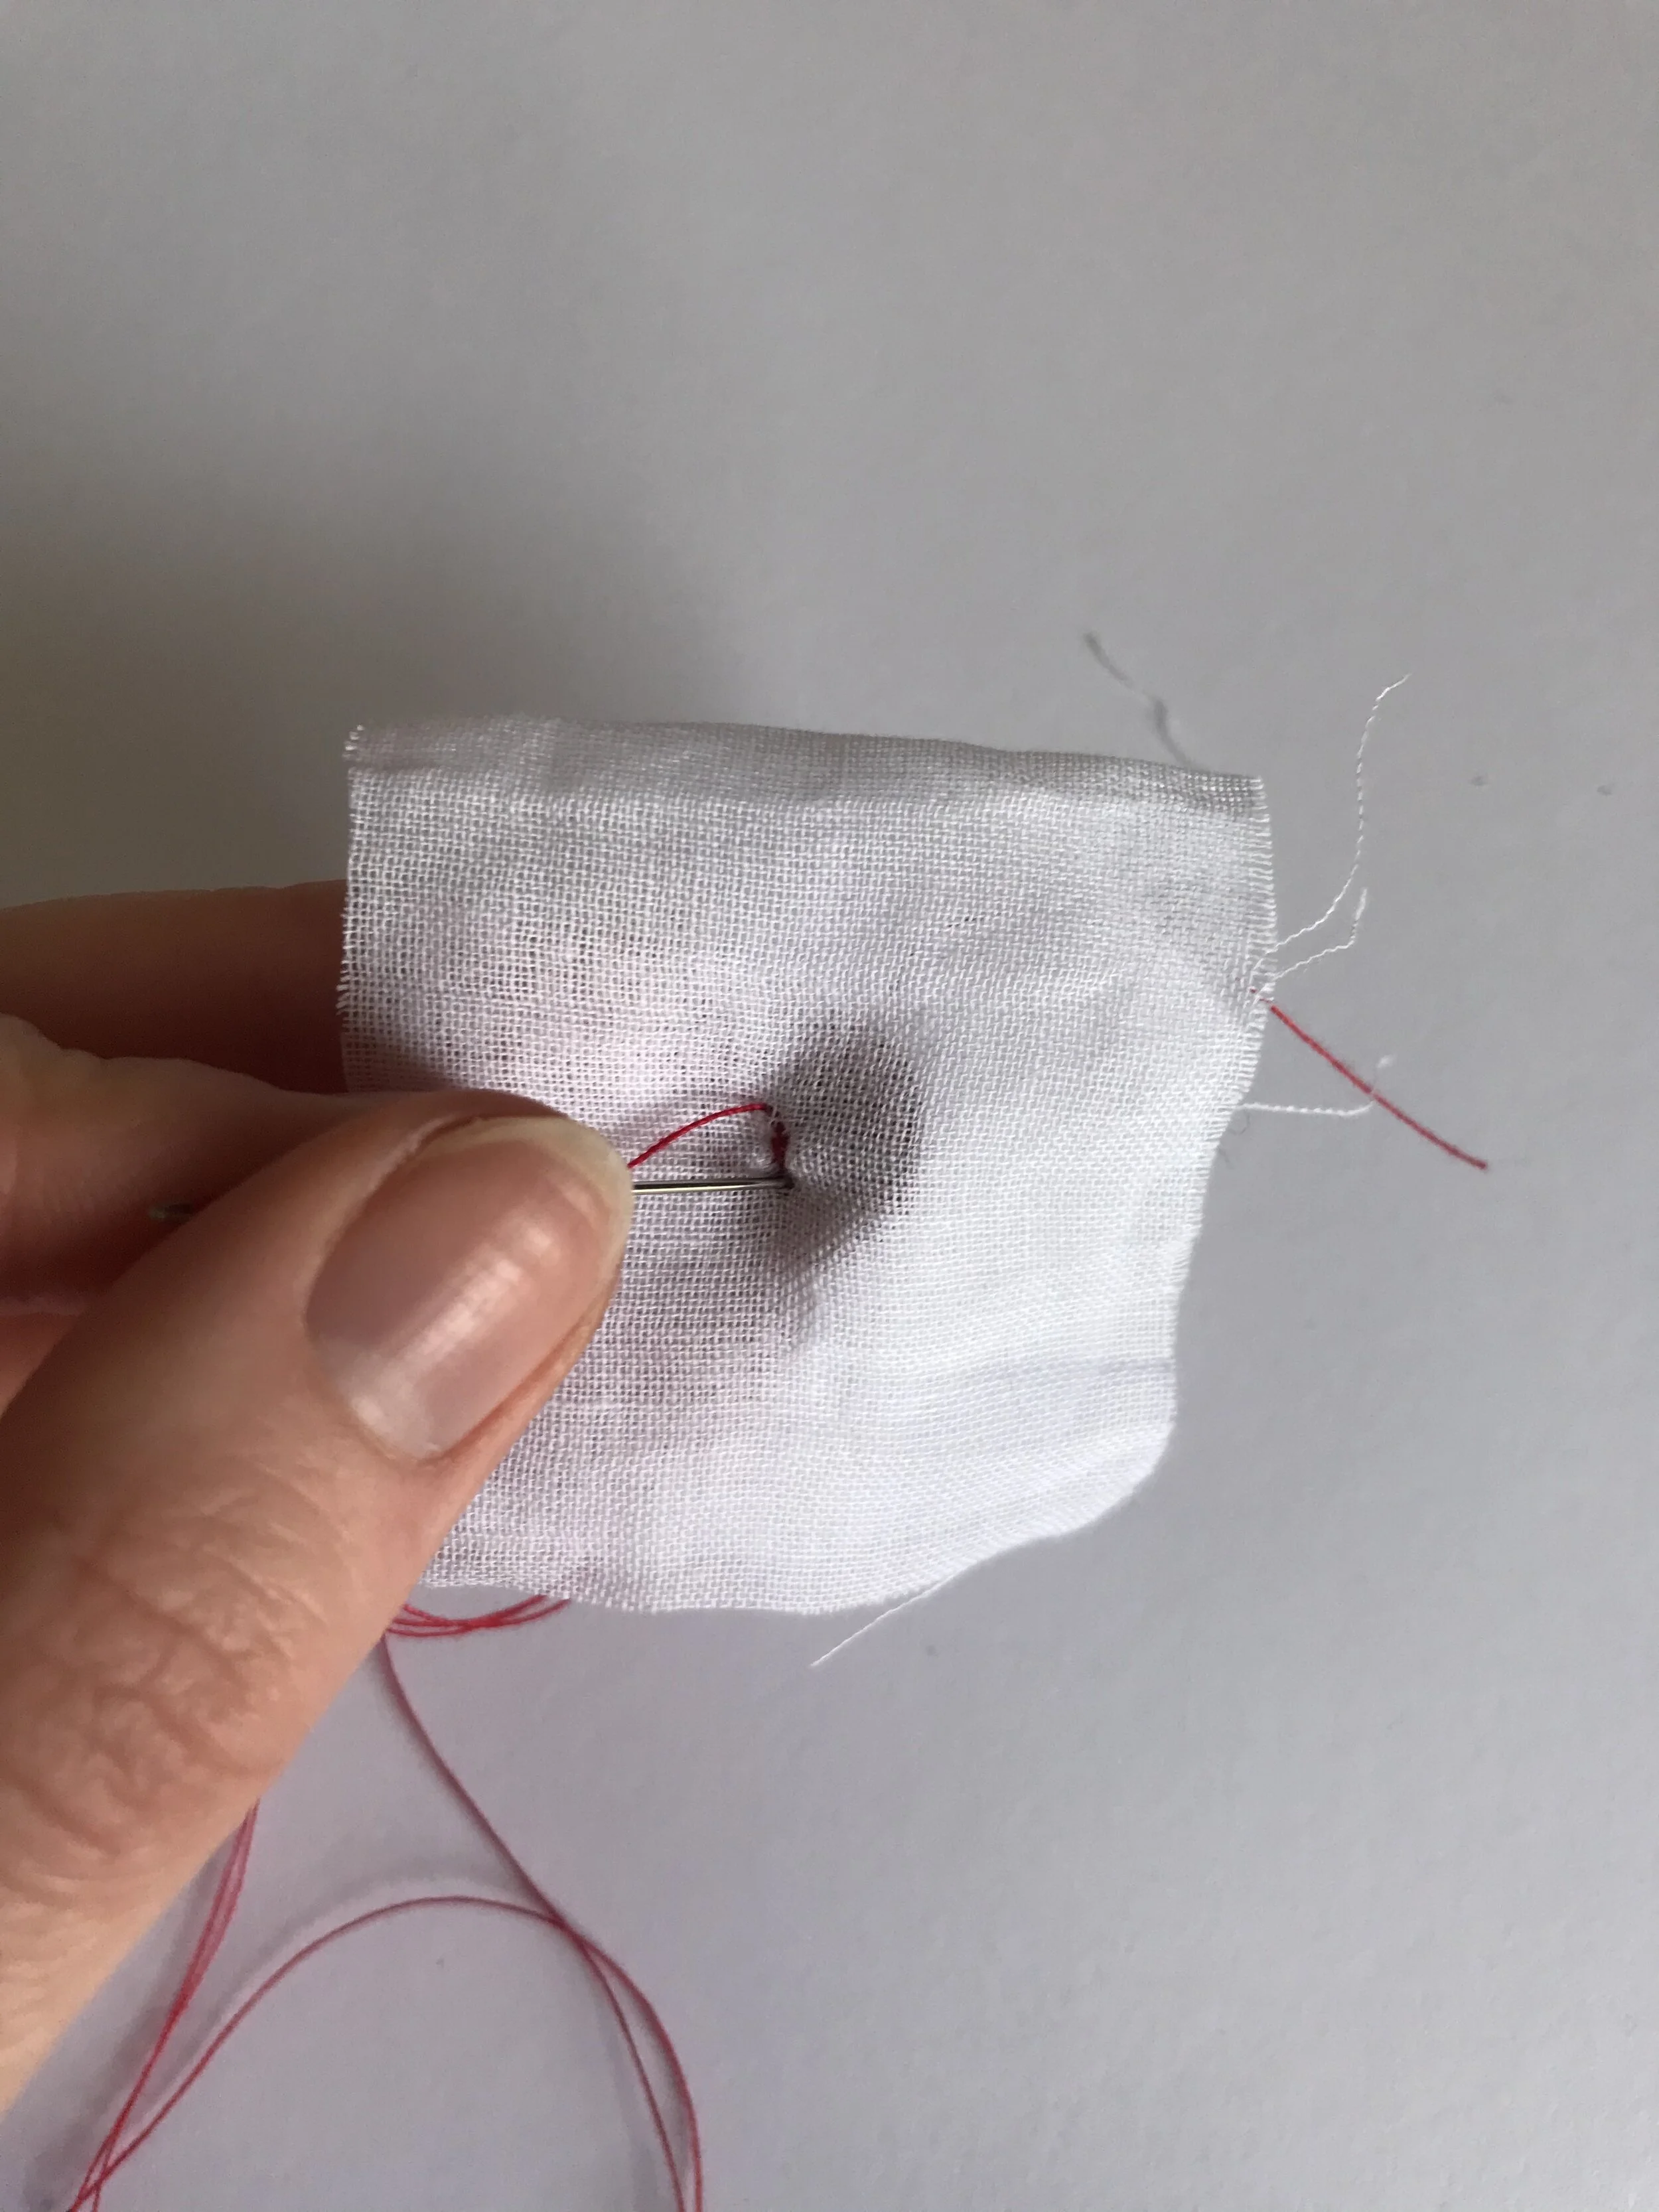
Step 4
Push the needle back through the fabric from front to back under the button.
Step 5
Bring the needle to the front and repeat steps 3 and 4 until the button feels strongly attached.
Step 6
Keep your stitches close together at the back to ensure a neat finish.
Step 7
Once it’s attached, finish with the needle at the front of the fabric.
Step 8
You should now have two loose threads at the front.
Step 9
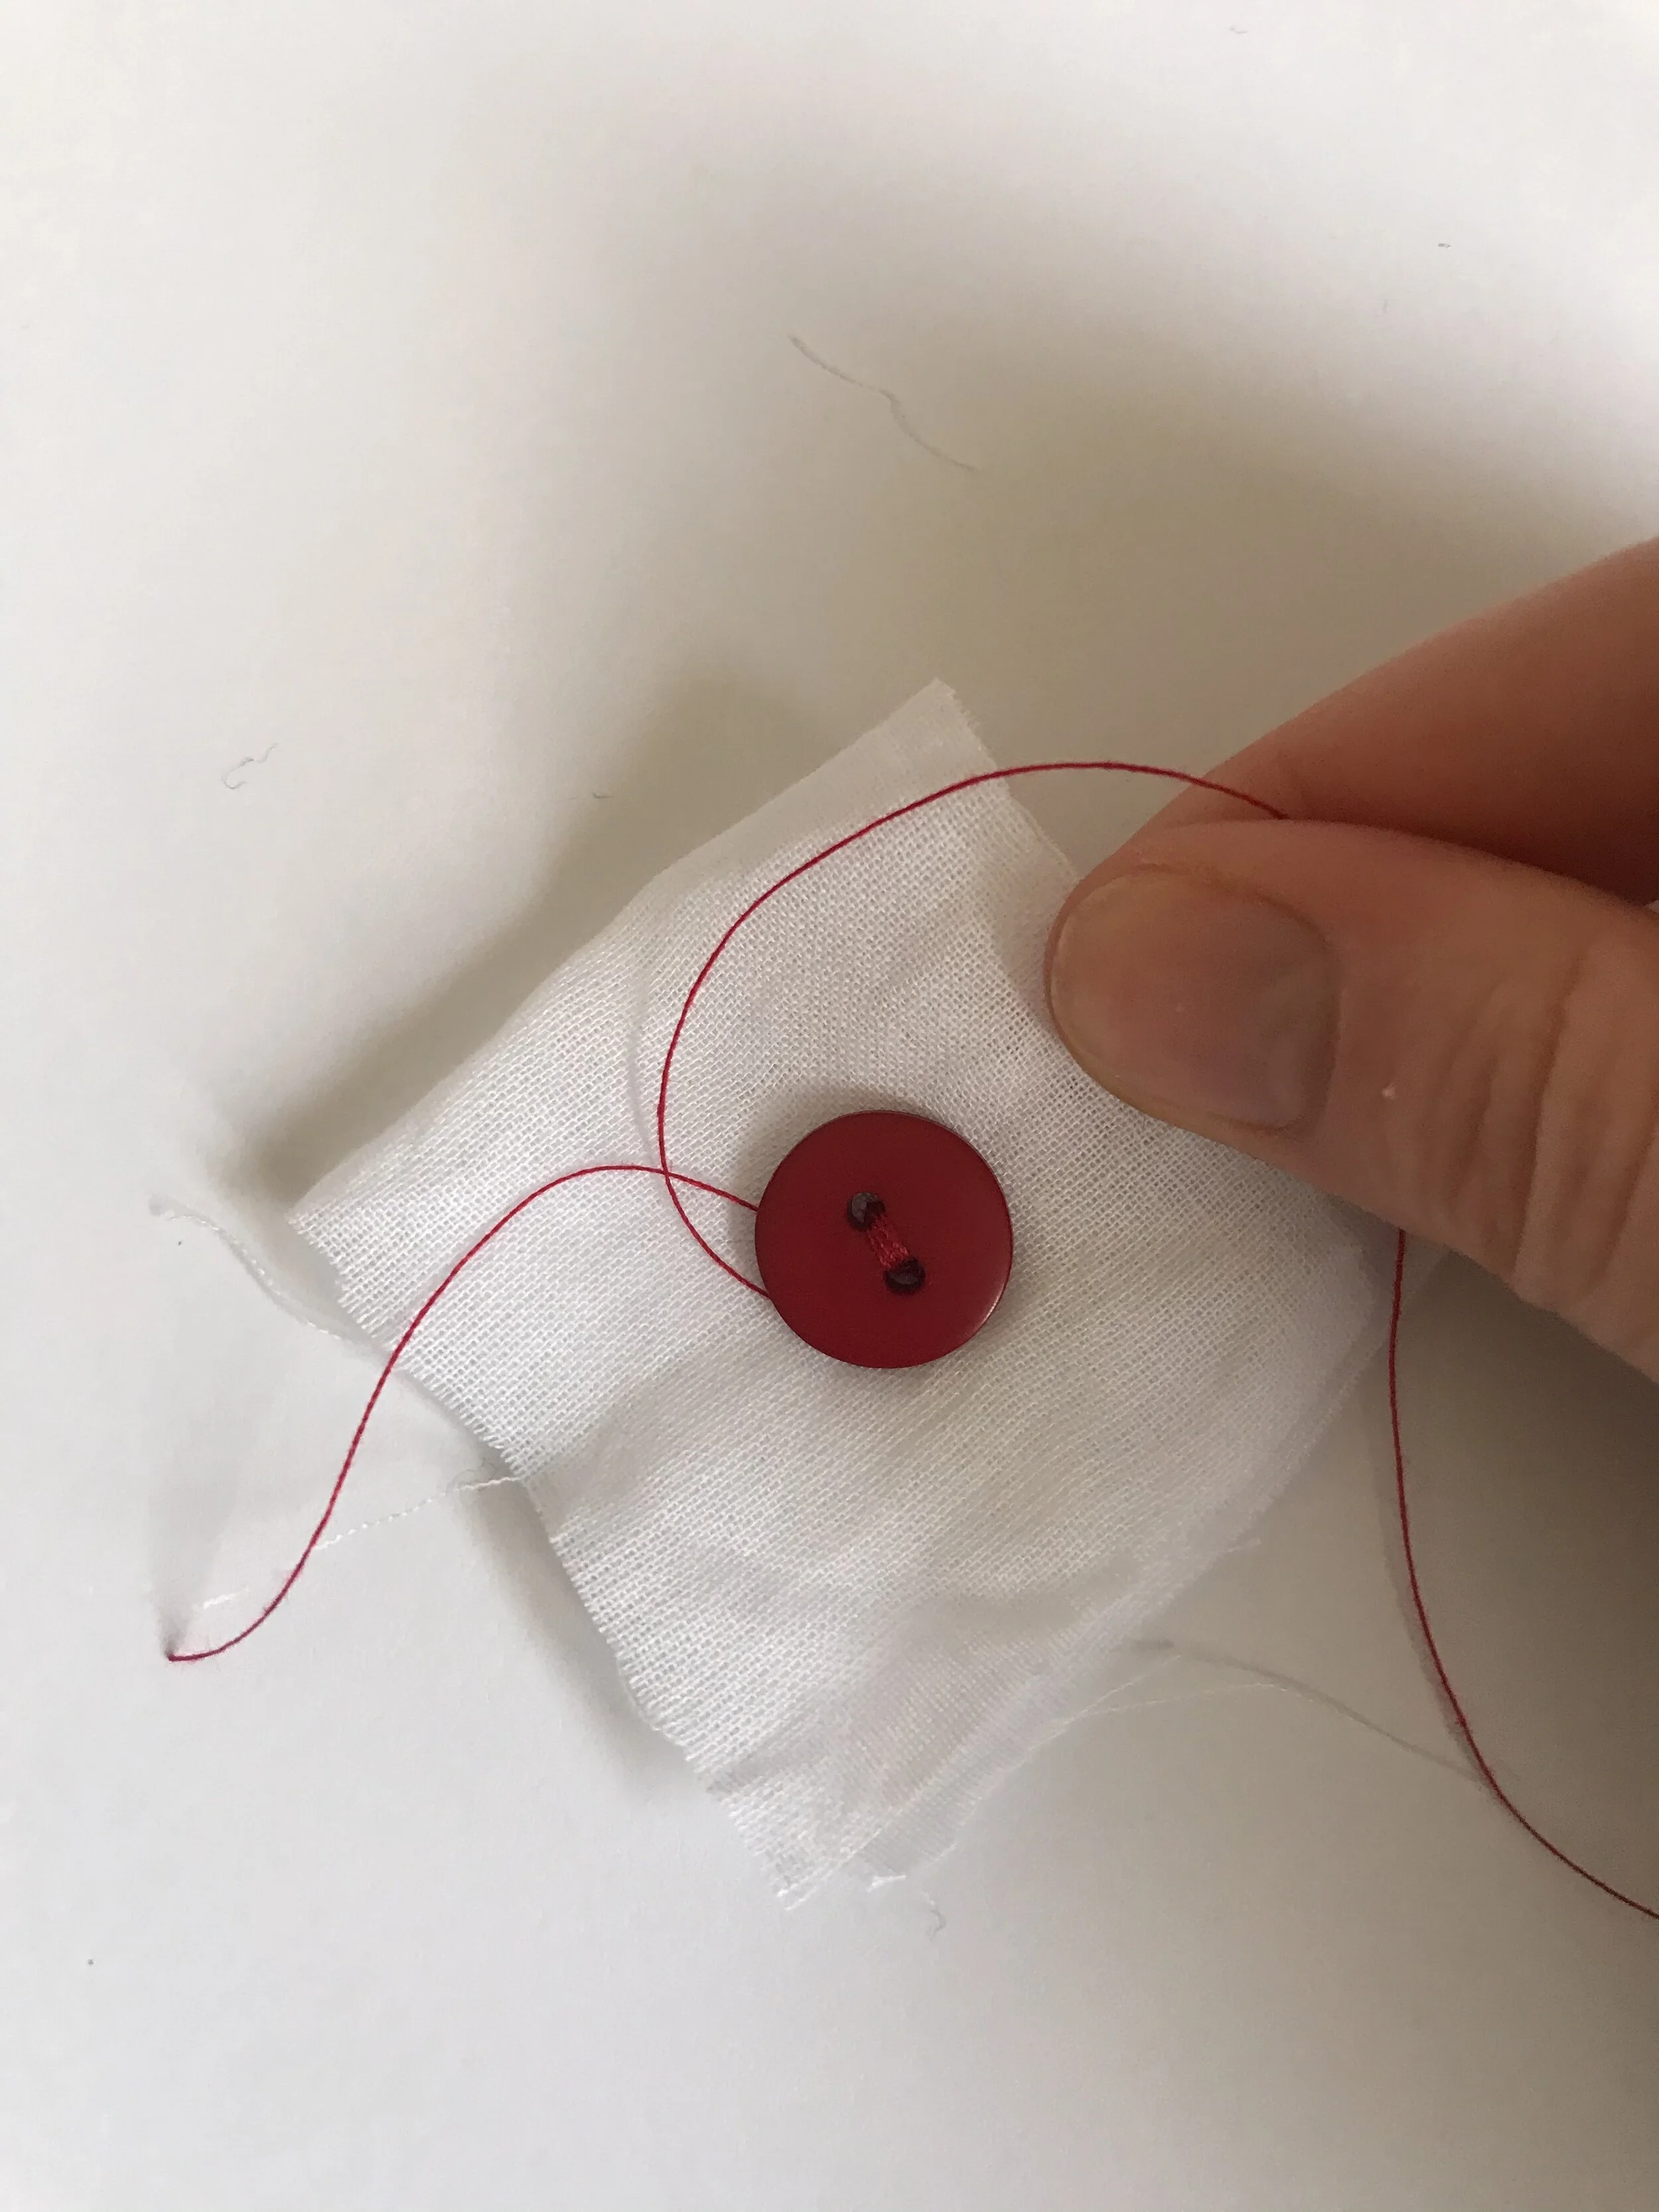
Wrap the end you’ve been sewing with around the button several times to ensure it isn’t flush against the fabric and has wiggle room.
Step 10

To secure the wrapped section, thread the needle through the middle one last time.
Step 11

Tie the two loose ends together two or three times and trim off any excess thread.
Step 12
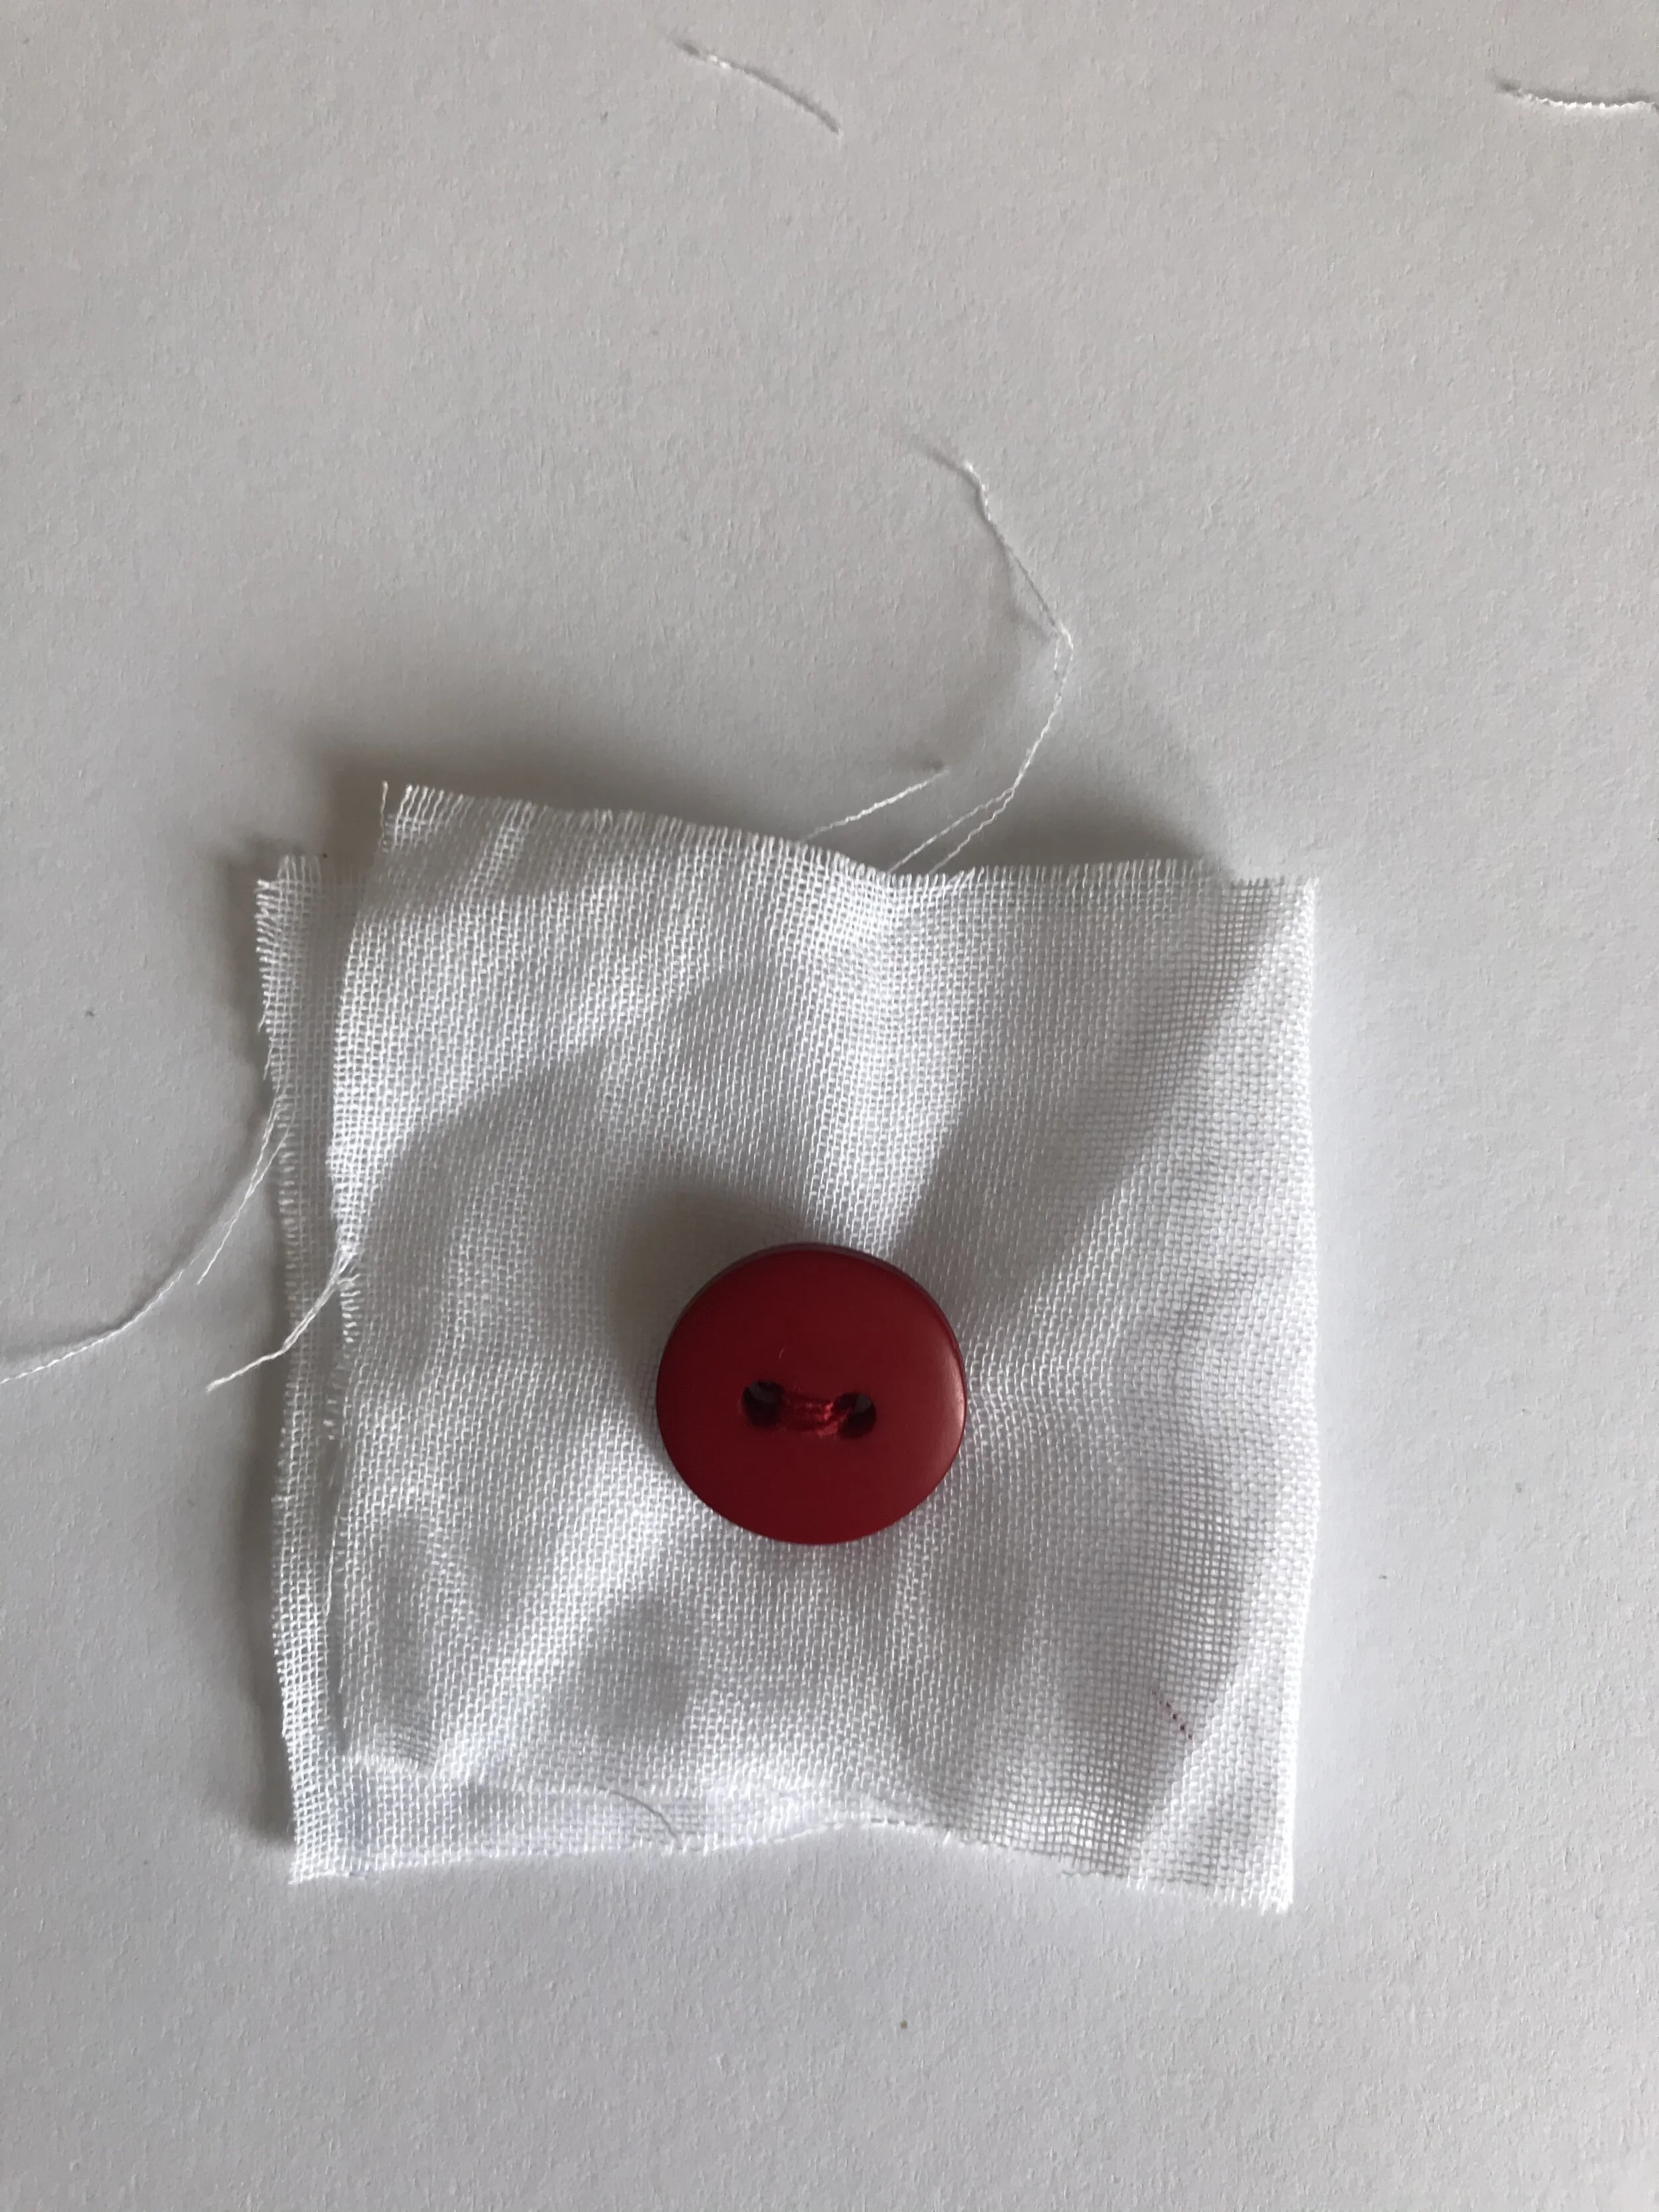
You should now have a new button!